Tools and Methods for Accurate Stud Finding for Floating Wood Shelf Installation
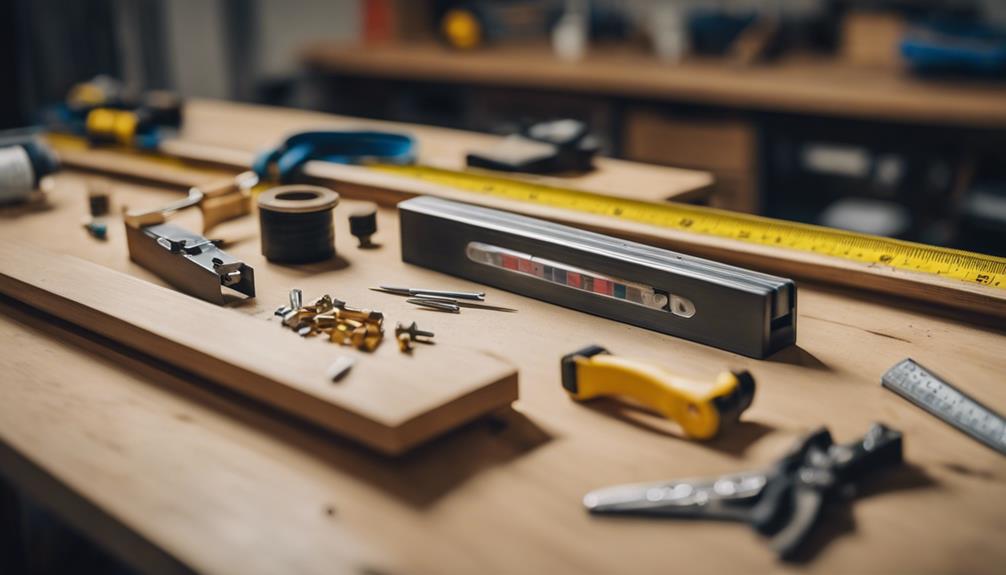
Accurately locating studs is essential when installing floating wood shelves securely. We rely on advanced tools such as electronic stud finders and magnetic sensors to precisely identify stud positions, even when dealing with challenges such as hidden studs or electrical interference. By analyzing the readings from these tools and carefully marking the stud locations, we can ensure the shelves are mounted firmly to the wall for optimal stability.
To guarantee the longevity and durability of the shelves, we utilize robust mounting hardware like threaded rods and conduct thorough testing of the installation. This ensures that the shelves can withstand the test of time and daily use without compromising their integrity.
For a comprehensive guide on achieving a flawless installation of floating wood shelves, continue reading to discover the detailed steps and techniques we employ to make sure your shelves are securely mounted and ready to enhance your living space.
Key Takeaways
When installing floating wood shelves, it's crucial to find the studs in your wall accurately. Invest in a top-notch electronic stud finder to detect variations in wall density, helping you precisely locate hidden studs. Additionally, magnetic stud finders can be useful in identifying metal fasteners within the wall, enhancing the accuracy of stud positioning for your shelves.
To complement these tools, try tapping on the wall and listening for a solid sound. This method can help you pinpoint the location of wooden studs, providing an additional layer of confirmation for your shelf installation. For a more comprehensive approach, consider using wall imaging tools to gain a detailed view of the wall structure. This way, you can easily identify any potential obstructions like electrical wiring or pipes that may impact the placement of your shelves.
For a secure mounting process, it's essential to drill holes in the studs. Consider using 12-inch x 5/8-inch steel threaded rods, lag bolts, or steel angle brackets to ensure stable support for your floating wood shelves. By following these methods and utilizing the right tools, you can achieve a successful and sturdy installation for your shelves.
Importance of Accurate Stud Location
Accurately locating the wall studs is crucial for securely installing floating wood shelves. This step is essential for ensuring the long-term stability and safety of our shelving system. Proper stud finding helps prevent potential damage to the walls or mounting hardware, guaranteeing a sturdy and reliable installation.
Studs provide vital structural support for our shelves, enhancing their overall safety and stability. By precisely identifying the stud locations, we can achieve ideal weight distribution, preventing sagging or collapse over time. This attention to detail is critical for the long-term durability and functionality of our floating wood shelves.
Using a high-quality stud finder is essential for this process. These specialized tools enable us to accurately pinpoint the solid wood framing behind the drywall, guiding us to the best mounting points. With this information, we can confidently secure our shelves in a way that maximizes their strength and resilience.
Common Stud Finding Challenges
Finding hidden studs can be quite tricky since walls don't always give away their secrets easily. What makes it even more challenging is the presence of electrical wiring and pipes concealed within the walls, which can interfere with stud finders and add to the complexity of the task. Moreover, the inconsistency in stud spacing means that a one-size-fits-all approach isn't reliable when it comes to installing our stylish floating wood shelves.
When it comes to installing floating wood shelves, one of the key hurdles is pinpointing the studs behind the walls. Studs are vertical framing members within the wall that provide support for the structure. However, these studs aren't always evenly spaced, making it difficult to predict their exact location. This variability in stud placement requires a more strategic and thorough approach to ensure the shelves are securely mounted.
To overcome the challenges of locating studs for your floating wood shelf installation, it's essential to use advanced stud finding techniques and tools. Modern stud finders come equipped with features that can detect not only studs but also alert you to the presence of electrical wiring or pipes in the wall. By utilizing these tools effectively and taking the time to scan the wall carefully, you can increase the chances of finding the studs accurately and ensuring a sturdy mounting for your shelves.
Locating Hidden Studs
Discovering hidden studs can feel like solving a mystery, especially when their atypical spacing or the presence of materials like drywall throw us off. To make matters more complex, these elusive studs might be obscured by plumbing, electrical wiring, or insulation, adding another layer of difficulty to the task of locating them.
Moreover, the reliability of our dependable stud finders can be influenced by the type of wall material, such as plaster or tile. When the depths or spacing of the studs vary, it becomes increasingly challenging to securely mount our floating wood shelves.
Nevertheless, armed with the appropriate tools and methods, we can overcome these obstacles related to hidden studs. By utilizing magnetic stud finders, edge-detection techniques, and careful exploration, we can precisely identify these troublesome studs and ensure the stability and durability of our floating shelves.
The crucial factor is to approach the job with patience, precision, and a sharp attention to detail – because when it comes to uncovering hidden studs, thoroughness is key.
Interference From Wiring
When installing floating wood shelves, a common issue that often arises is the interference caused by electrical wiring within the walls. This wiring can disrupt the accuracy of stud finders, leading to misleading readings and making it challenging to locate the studs correctly.
Additionally, metal components such as wiring can also interfere with magnetic stud finders, further complicating the process of finding the studs accurately.
Electrical wiring poses a significant challenge during the stud finding process, as it can result in false readings on electronic stud finders. To mitigate this issue, it's crucial to turn off the power before using any stud finding tools to ensure accurate results.
Moreover, when dealing with metal components like wiring that may disrupt magnetic stud finders, specialized live wire detection tools can be utilized to overcome this interference effectively.
Live wires present a potential hazard during the stud finding process as they can lead to inaccurate stud detection. It's essential to identify and avoid live wires to prevent any safety risks and ensure the successful installation of floating wood shelves.
Inconsistent Stud Spacing
Dealing with inconsistent stud spacing is another common challenge we face when installing floating wood shelves, aside from electrical wiring. In modern construction, the standard stud spacing is typically 16 inches, but older homes may have wider 24-inch spacing. This variation in stud placement can complicate the installation process, as the floating shelf supports need to be securely anchored to the wall studs for stability and safety.
To tackle this issue, it's helpful to use a combination of stud-finding methods. By utilizing electronic stud finders and manual probing techniques, we can cross-reference the results to accurately map out the stud locations and plan the shelf installation accordingly.
Flexibility and a willingness to adapt our approach to each unique stud spacing challenge are key to successfully overcoming these obstacles. With a solid understanding of the common stud-finding hurdles and a creative problem-solving mindset, we can effectively install floating wood shelves even in the face of irregular stud spacing.
Stud Finder Technology Overview
Stud finders use different technologies to accurately detect changes in wall density, helping us precisely locate wooden wall studs for our floating wood shelf installation. These handheld devices utilize various sensing mechanisms, such as magnetic fields and radar-based systems, to identify the optimal mounting points for our shelves.
When choosing a stud finder, it's essential to consider the features that best suit our needs. Basic stud finders rely on detecting basic density changes, while advanced models enhance accuracy through digital sensors. Premium stud finders go a step further by providing precise identification of stud edges, ensuring a secure and stable shelf installation.
Advanced stud finders offer additional functionalities like live wire detection and laser marking, which can streamline the installation process and prevent accidental damage. With the ability to accurately measure stud depth, these tools ensure that our floating shelves are securely mounted, capable of supporting a variety of displayed items.
Using Knocking Techniques for Stud Detection
Stud finders offer a modern approach to locating studs in walls, but there's a more traditional method that can also be effective – knocking. By lightly tapping on the wall and paying attention to the sound produced, we can identify areas where there's a denser, more solid sound, indicating the presence of a wooden stud behind the wall.
Although not as precise as using a specialized tool, knocking can give us a general idea of where the studs are located before we start installing floating shelves or other wall-mounted fixtures. Experienced builders often use this technique as a simple initial step in the process of finding studs.
All we need to do is tap gently and listen for those distinct changes in sound that point to the positions of the studs.
Interpreting Stud Finder Readings
By leveraging electronic stud finders, we can accurately pinpoint the exact positions of the underlying wall studs to ensure a robust and secure installation of our floating wooden shelves. The top-selling stud finder available at Home Depot, for example, not only detects changes in wall density to locate the studs but also indicates the full width of the stud for more precise readings. Understanding and correctly interpreting these stud finder readings is crucial for the successful installation of shelves.
Electronic stud finders offer detailed and reliable information that enables us to confidently mark the stud locations before drilling. Some advanced models can even detect the presence of live electrical wires or metal pipes within the walls, helping us avoid potential hazards during the installation process.
Mastering the interpretation of stud finder data allows us to utilize this technology effectively for achieving a professional-grade, durable floating shelf setup that meets both our aesthetic and functional needs.
Marking Stud Positions Precisely
Now that we've accurately marked the positions of the studs, we're all set to securely install our floating wood shelf. Precision plays a crucial role in this process, ensuring that the supporting brackets align perfectly. By utilizing a top-notch electronic stud finder, we can easily detect variations in the wall density, leading to pinpoint accuracy in locating the studs.
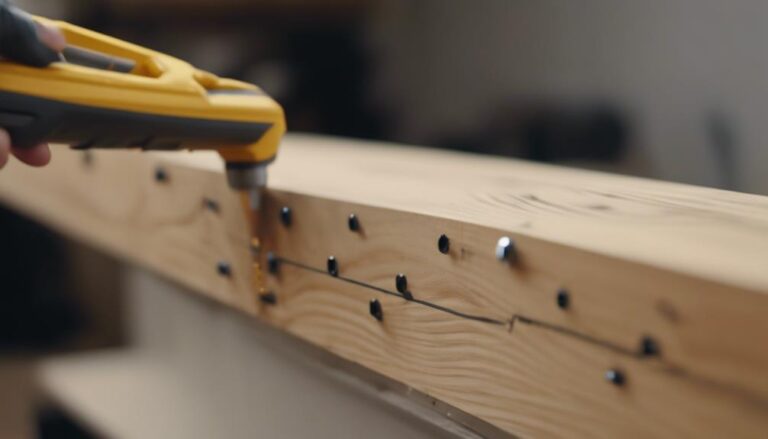
To locate the studs, simply glide the stud finder methodically along the wall. This allows us to identify the edges of the studs with utmost precision, facilitating the marking process. Once the stud edges are identified, marking their centers with a pencil becomes a breeze. This step provides us with the exact drilling spots for attaching the brackets securely.
After marking the stud centers, it's essential to double-check the positions to confirm the accurate identification of the studs. This final verification step ensures that our measurements are spot on, guaranteeing a sturdy and reliable installation for our floating wood shelf.
Preparing the Wall for Shelf Installation
Now that we understand how crucial it's to accurately locate studs, let's proceed to prepare the wall for installing our floating wood shelves. Using our trusty stud finders, we'll mark the exact positions of the studs with precision. This step is essential to ensure that our shelves will be securely anchored to the wall.
After marking the stud positions, the next step is to thoroughly clean the wall surface where the shelves will be mounted. By removing any dust, dirt, or debris, we can create a clean and smooth area for optimal shelf attachment. This cleaning process is vital in ensuring a strong and stable foundation for our floating shelves.
With the wall surface clean and the stud positions marked, we can now move on to measuring and marking the desired placement for our shelves. Taking accurate measurements and marking the specific locations where the shelves will be installed is key to achieving a well-balanced and visually appealing arrangement.
Locate Stud Positions
Finding the stud positions accurately is crucial for a successful installation of floating wood shelves. Studs are like the hidden backbone of your wall, providing the necessary support for your shelves. Using a stud finder is the most reliable method as it can detect the wood framing behind the drywall with precision, ensuring you screw into the right spots without any guesswork.
Additionally, measuring the distance between electrical fixtures can also help, as studs are usually spaced either 16 or 24 inches apart.
Another technique you can try is the traditional knock-and-listen method, where you tap the wall and listen for denser areas that may indicate the presence of a stud. Taking the time to accurately locate the studs is essential to prevent any damage to the wall and to maintain the integrity of your floating shelf installation.
Clean Wall Surface
To ensure a secure and polished final result when installing your floating wood shelves, it's crucial to start by cleaning the wall surface. Removing any debris, dust, or loose paint is essential for proper adhesion and stability. This preparatory step is key to accurate stud finding, which is necessary for securely attaching the shelf brackets.
A clean wall surface provides a clear canvas for locating the studs using your preferred stud finder tool. With a tidy workspace, you can mark the stud positions precisely, laying the groundwork for a sturdy and level installation. Neglecting to clean the wall properly can lead to potential damage and detract from the overall aesthetic of your floating wood shelves.
Thoroughly inspecting and preparing the wall surface is a proactive approach that yields benefits during the installation process. It helps you achieve seamless, professional-grade results. Starting with a clean slate sets you up for success in your floating wood shelf project.
Mark Shelf Placement
Now that the wall surface is clean and prepped, it's time to mark where we want our floating wood shelves to go. Grab a pencil and a measuring tape to carefully measure and mark the desired height for each shelf. Using a level will ensure that our shelves are perfectly aligned.
When marking the spots on the wall, consider the spacing between shelves and the distance from adjacent walls for the best placement. Take into account the stud locations we've found to mark where the shelf brackets or support rods will be attached.
Double-checking our markings before drilling is crucial to avoid mistakes during the installation process.
Securing Floating Shelves to Studs
Securing floating wood shelves requires accurately locating the wall studs with a stud finder. By identifying these key structural elements, we can ensure a robust mounting solution for the shelves.
Utilizing steel brackets or threaded rods that can be firmly anchored into the studs will provide the necessary support for the shelves and any items placed on them.
Here are the essential steps to properly secure floating wood shelves to the wall studs:
- Use a stud finder to mark the precise locations of the studs on the wall.
- Install the heavy-duty steel brackets or threaded rods securely into the studs, creating a stable foundation for the shelves.
- Attach the floating wood shelves onto the brackets or rods, establishing a seamless and reliable connection.
- Test the installation by applying weight or performing a simple chin-up to confirm the stability and weight-bearing capacity of the shelves.
Ensuring Long-Term Shelf Stability
Using steel threaded rods is crucial for ensuring the long-term stability of our floating wood shelves. By drilling precise holes in both the shelves and the underlying studs, we can securely anchor the rods and create a robust platform.
To test the strength of our installation, it's recommended to apply weight bags or perform chin-up exercises. This will help us confirm that our shelves can handle significant loads over time.
For additional support, incorporating lag bolts or black pipe into our design can further enhance the overall stability and load-bearing capacity of our floating shelves. Properly securing the shelves onto the wall studs is essential for long-term safety and durability.
Following these best practices meticulously allows us to craft floating wood shelves that not only look beautiful but also maintain their structural integrity for years to come.
Troubleshooting Common Installation Issues
When installing floating wood shelves, accurately locating wall studs is crucial to ensure a secure attachment point. However, issues like crushed drywall can arise, compromising shelf stability. To troubleshoot this problem, it's recommended to use a 1.5-inch hole saw to create clean holes at the stud locations. This not only establishes a solid connection but also allows for a thorough assessment of the wall condition and any necessary repairs.
Steel studs present specific challenges when installing shelves, as attaching them directly can lead to instability. Proper reinforcement is essential in such cases. By meticulously planning and executing the installation process, long-term stability can be ensured while preventing any undesired movement or sagging.
To address any play between the shelf and bracket, applying masking tape to the bracket can create a snug fit, eliminating potential movement. This simple yet effective solution enhances the overall stability of the shelf installation.
Tips for a Flawless Shelf Install
When installing a custom floating wood shelf, one of the crucial steps is accurately locating the wall studs. These studs are essential for providing the necessary support and stability for your shelf. Without securely anchoring the shelf to the studs, it may not be able to hold the weight of your items or remain level over time. Therefore, taking the time to find and mark the studs correctly is key to ensuring a successful installation.
There are several effective techniques you can use to locate wall studs. One common method is using a stud finder, a handy tool that detects the density changes in the wall to pinpoint the location of the studs. Simply run the stud finder along the wall until it indicates the presence of a stud, then mark the location for drilling.
Another method is tapping on the wall and listening for a solid sound, which indicates the presence of a stud. Start from an outlet or switch, as studs are typically placed next to these fixtures. Tap along the wall horizontally, marking the spots where you hear a solid sound.
If you prefer a more traditional approach, you can also look for visual clues such as nail heads or outlet boxes that are attached to the studs. These indicators can help you identify the stud locations accurately.
Precise Wall Stud Locating
Title: Techniques and Tools for Accurate Stud Detection in Floating Wood Shelf Installation
Accurate Wall Stud Locating
When it comes to finding studs for installing floating wood shelves, having the right tools and methods is crucial. While electronic stud finders are commonly used for precise stud detection, magnetic stud finders can also be handy for locating metal fasteners behind drywall if necessary. In some cases, wall imaging tools can offer a more detailed look at the wall's composition to help determine the best placement for your shelves.
Here are four effective techniques for precisely pinpointing wall studs:
- Utilize an electronic stud finder to identify changes in wall density, allowing you to locate wooden studs accurately.
- Make use of a magnetic stud finder to detect metal screws or nails hidden within the wall structure.
- Tap on the wall surface and listen for the solid sound produced by a wooden stud, which will sound denser compared to hollow areas.
- Consider using wall imaging tools that can provide visual representations of the wall's internal structure, aiding in the selection of optimal mounting points for your floating wood shelf.
Accurately locating wall studs is essential for ensuring the stability and levelness of your floating shelf installation.
Secure Shelf Mounting Techniques
Ensuring a secure and stable floating wood shelf installation goes beyond just locating the wall studs accurately. By utilizing specialized hardware and proven mounting techniques, we can guarantee a flawless shelf setup that will last for years to come.
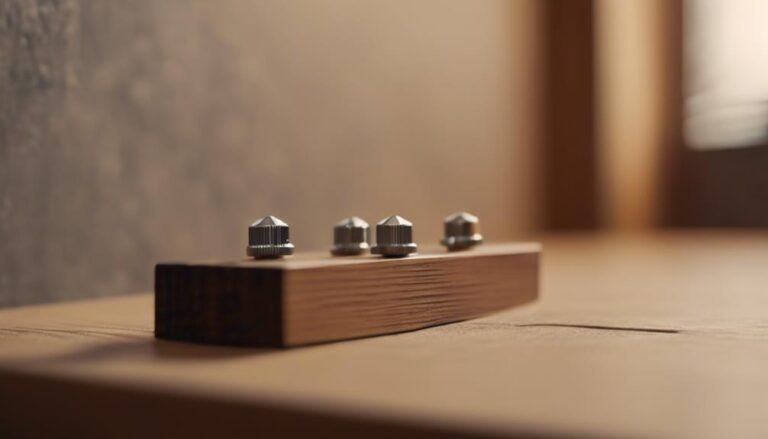
To provide maximum support, it's recommended to use 12-inch x 5/8-inch steel threaded rods to firmly anchor the shelves. This will require drilling holes directly into the wooden studs and corresponding holes in the shelf itself to confirm precise placement.
To further strengthen the installation, you may want to consider incorporating lag bolts, steel angle brackets, or torsion box construction. For a professional and clean look, using a spurred ship auger to drill seamless holes through the shelves and studs is essential.
Lastly, testing the shelf's strength by hanging weight bags or performing a chin-up will help validate the secure installation and provide peace of mind. By following these best practices, your floating wood shelves will be sturdy and ready to display your treasured items.
Ensuring Level Shelf Placement
Now that we've located the wall studs securely, our next step is ensuring the floating wood shelf is installed perfectly level and straight. Using a reliable level tool is crucial to achieving a balanced and visually appealing setup.
To guarantee precise shelf placement, we'll follow these essential steps:
- Utilize a high-quality level tool to confirm the shelf is parallel to the ground during the installation process.
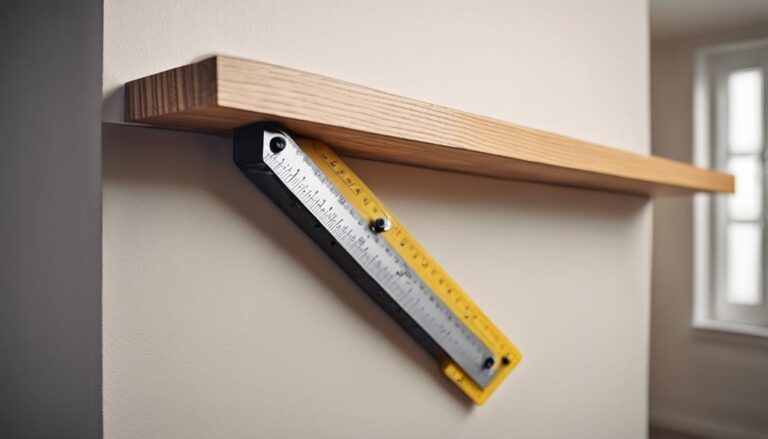
- Verify the levelness of the shelf by placing a spirit level on top before finalizing the attachment.
- Make any necessary adjustments to the shelf position to achieve a harmonious and balanced appearance in the space.
- Double-check the levelness of the shelf after it's securely attached to the brackets for added accuracy.
A level floating wood shelf not only enhances the overall aesthetics but also ensures long-term stability and optimal functionality. By adhering to these best practices, we can achieve a flawless shelf installation that meets the highest standards of quality and precision.
Frequently Asked Questions
Do You Need a Stud Finder for Floating Shelves?
When installing floating shelves, it is crucial to find the studs in your wall for maximum stability and safety. While drywall anchors can be used as an alternative, using a stud finder is the best method to ensure your shelves are securely mounted. Stud finders are innovative tools that utilize technology to accurately locate studs behind your walls, providing a reliable foundation for your floating shelf installation.
Stud finders work by detecting changes in wall density to identify where the wooden studs are located. This information is essential for anchoring heavy items such as floating shelves securely to the wall. By using a stud finder, you can avoid the risk of shelves coming loose or falling due to inadequate support.
How Do You Hang Floating Shelves on Studs?
When it comes to hanging floating shelves on studs, it's crucial to select the ideal shelf size that complements your space and meets your storage needs. By utilizing a stud finder, you can pinpoint the studs in your wall with precision, ensuring a secure and stable installation for your shelves.
Studs are essential structural components within your wall, typically made of wood or metal, providing robust support for various fixtures and fittings. By anchoring your floating shelves directly onto the studs, you can distribute the weight evenly and minimize the risk of sagging or collapsing over time.
Leveling your floating shelves meticulously is key to achieving a polished and professional look in your living space. Ensuring that each shelf is perfectly aligned not only enhances the visual appeal but also contributes to the overall functionality and usability of the shelving system.
What Tool Can You Use to Identify a Secure Location for a Shelf?
When it comes to installing floating wood shelves, it's crucial to find a secure location on the wall. A handy tool for this task is an electronic stud finder. This device is designed to detect studs within the wall, allowing us to pinpoint areas with sufficient load capacity for mounting shelves. By utilizing an electronic stud finder, we can ensure that our shelves are securely attached to the wall, minimizing the risk of accidents or damage.
Stud finders work by sensing changes in wall density, typically indicating the presence of a stud. This technology helps us identify the best spots for installing shelves based on the wall's construction materials and structural integrity. By using an electronic stud finder, we can confidently determine secure locations for mounting our floating wood shelves, ensuring a stable and safe installation.
Do Floating Shelves Need to Be Screwed Into Studs?
Do floating shelves really need to be screwed into studs? Yes, absolutely! Properly installing floating shelves is crucial for ensuring they can safely hold your items and maintain the integrity of your walls in the long run.
When it comes to mounting floating shelves, finding the studs in your wall is key. Studs are the vertical wooden or metal supports within your walls that provide the necessary strength and support for heavy items like shelves. By screwing your floating shelves directly into the studs, you are ensuring a secure and stable installation.
Using anchors or wall plugs alone may not provide enough support for floating shelves, especially if you plan on displaying heavier items. Studs offer a more reliable and sturdy anchor point for your shelves, reducing the risk of them coming loose or falling off the wall.
Conclusion
When installing floating wood shelves, finding the studs accurately is crucial for a durable and secure mounting. Mastering the art of stud location is key to creating shelves that seem to defy gravity, holding up your treasured items with unwavering stability. Follow our advice, and you'll end up with a shelf that's as strong and reliable as the studs it's attached to.
Stud finding is like a puzzle where each piece (the stud) plays a vital role in the overall picture of your shelf installation. The key is to use a reliable stud finder tool that can accurately detect the studs behind the wall. This ensures that your shelves are securely anchored to the strongest support points, preventing any risk of collapse or damage over time.
In the world of floating shelf installation, the studs are the unsung heroes that provide the backbone for your shelves to shine. By understanding the importance of precise stud location, you can create a setup that not only looks aesthetically pleasing but also delivers unmatched durability and reliability.
So, next time you embark on a floating shelf project, remember that the studs are your best friends in achieving a sturdy and long-lasting installation.

