Step-by-Step Guide to Mounting a Floating Wood Shelf
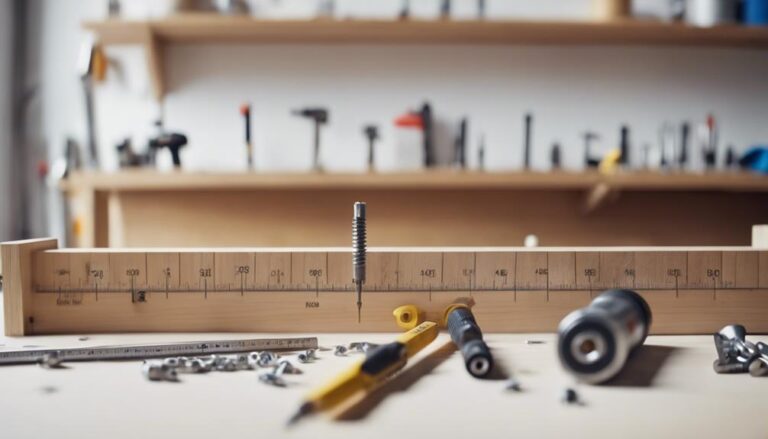
Mounting a floating wood shelf requires a few essential tools: a drill, screws, wall anchors, a level, and a measuring tape. Before starting, it's important to choose the perfect spot at eye level. Use a stud finder to locate and mark the studs to avoid any potential hazards like damaging wiring.
To ensure stability and prevent wall damage, begin by drilling pilot holes. This step will provide a secure base for the shelf. Then, proceed to install the brackets, ensuring they are aligned with the wall studs for maximum support.
Once the brackets are securely in place, it's time to attach the shelf. Make sure to check for levelness from various angles to guarantee a balanced and visually appealing result. If needed, make any adjustments to ensure the shelf is perfectly straight.
By following these steps carefully, you can successfully mount a floating wood shelf in your desired location. Remember to take your time and double-check your measurements and alignment for a professional finish.
Key Takeaways
- Locate and mark wall studs with a stud finder for secure bracket mounting.
- Measure and mark the desired shelf height for precise alignment.
- Drill pilot holes into wall studs to ensure stability and prevent damage.
- Attach shelf brackets securely to the wall using the appropriate screws and wall anchors.
- Slide the shelf onto the brackets, ensuring it is level and stable before tightening it in place.
Gather Tools and Materials
Let's gather all the tools and materials needed for mounting our floating wood shelf. We'll require a sturdy drill, screws, wall anchors, a level, and measuring tape. These items are crucial for ensuring a secure and perfectly aligned shelf.
Consider using specially designed brackets from Timber Made for a more efficient installation process. These brackets come with pre-drilled holes, making setup quicker. Timber Made offers shelves in various sizes, stains, and wood options like maple, pine, and poplar, allowing us to choose one that complements our decor.
A stud finder is essential for locating ideal mounting spots, providing necessary support for heavier items. Using a measuring tape, mark the wall based on the distance between the brackets.
Having these tools and materials ready will streamline the installation process, ensuring a functional and stylish floating shelf. Prepare in advance to approach the project confidently, creating a practical addition to your space.
Choose Shelf Location
When deciding on the placement for your floating wood shelf, it's important to consider practicality and aesthetics, ensuring a secure mounting by detecting wall studs. Placing the shelf at eye level not only enhances accessibility but also effectively showcases your decor. Remember to use a level to ensure the shelf is perfectly straight, creating a polished and professional appearance.
The use of wall stud detection tools like stud finders can help in locating the most secure points for mounting your floating wood shelf. This ensures stability and safety, especially when displaying heavier items. By following these steps, you can achieve a visually appealing and functional display that complements your space effortlessly.
Incorporating the right tools and techniques, such as using anchors or brackets for additional support, can further enhance the stability of your floating wood shelf. This attention to detail ensures that your shelf not only looks great but also serves its practical purpose effectively. By taking these factors into consideration, you can create a stylish and secure display for your decor items.
Wall Stud Detection
To ensure a secure installation of your floating wood shelf, it is crucial to accurately pinpoint wall studs using a stud finder. Wall studs provide essential support for the shelf and any items placed on it. By locating these studs, we can avoid potential hazards such as damaging electrical wiring or plumbing, making the installation safer and more reliable.
Once the wall studs are located, marking their positions with a pencil or marker is important for guiding the placement of the floating shelf bracket. This step ensures that the bracket is anchored securely, contributing to the stability and longevity of the shelf. Here's a quick reference table summarizing the key points for a successful installation:
| Task | Tool Required | Importance |
|---|---|---|
| Locate wall studs | Stud finder | Ensures secure mounting |
| Avoid potential hazards | Stud finder | Prevents damage and ensures safety |
| Mark stud locations | Pencil/Marker | Guides bracket placement |
| Mount shelf bracket | Drill/Screws | Secures the shelf in place |
Eye-Level Placement
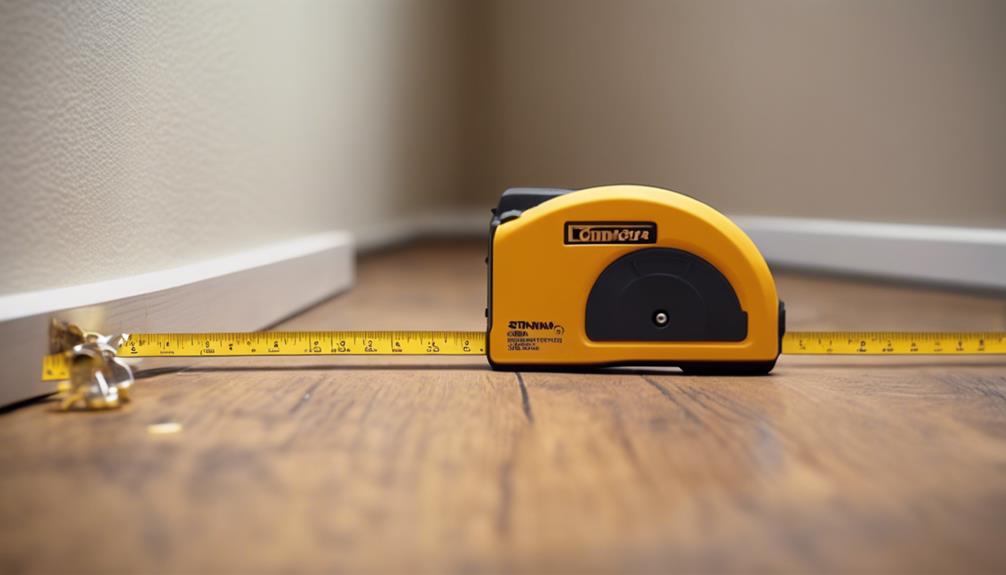
Now that we've located the wall studs, let's focus on finding the perfect spot for our floating wood shelf at eye level. Placing the shelf at eye level ensures that whatever we choose to display on it will be easily visible and within reach, adding both functionality and style to our space.
To determine the ideal eye-level placement, we need to measure the height from the floor. This usually falls between 57 to 63 inches, taking into consideration the average height of the users. By positioning the shelf at this height, we not only make it convenient to access everyday items but also create a visually pleasing balance in the room.
As we make our final decision, it's crucial to consider the weight capacity of the shelf. Understanding the weight limit is essential for the safety and longevity of the installation. A securely mounted shelf will reliably hold our items, maintaining its aesthetic appeal for years to come.
Mark Stud Positions
Let's use a stud finder to locate and mark the positions of the studs in the wall with a pencil. This important step ensures that our floating wood shelf will have the necessary support for stability and security.
By scanning the wall with the stud finder, we can identify the wooden beams, or studs, behind the drywall. These studs are crucial for providing the strength required to hold up our shelf and any items we place on it.
As we run the stud finder along the wall, it will indicate when it detects a stud. When this happens, we should mark the positions of the studs on the wall using a pencil. This helps us keep track of where each stud is located, ensuring precise placement of our shelf brackets or support system.
Although studs are typically spaced 16 inches apart, it's essential to check for each one individually, as variations may exist in older homes or different construction methods.
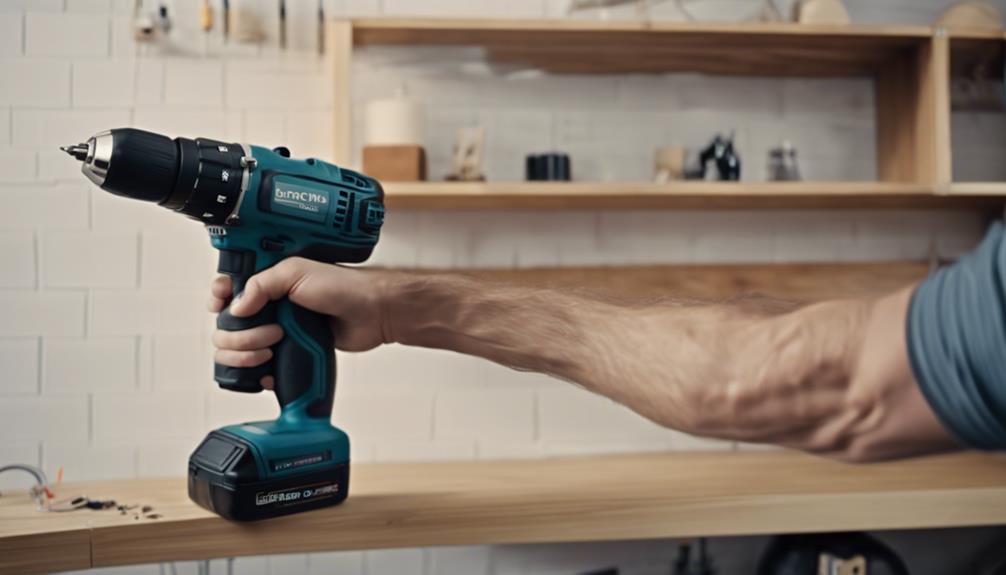
Drill Pilot Holes
To ensure our floating wood shelf is securely mounted, we must drill pilot holes into the designated stud positions. This crucial step is vital for stability and prevents wall damage when inserting screws. Using a drill bit slightly smaller than the screw size, we create pilot holes that provide a perfect fit, enhancing the overall integrity of the installation.
Let's start by choosing the right drill bit – one that's slightly smaller than the screws. This ensures that our pilot holes offer a snug grip, which is essential for a secure mount. Precision is key here; each pilot hole must be drilled to the correct depth. If the hole is too shallow, the screws won't hold, but if it's too deep, it can compromise the wall's strength.
Drilling pilot holes goes beyond just fitting screws; it's about preventing potential damage. Walls, especially those with studs, are at risk of cracking under pressure if this step is skipped. By meticulously drilling pilot holes, we can evenly distribute the force of the screw, reducing stress on the wall material.
In essence, taking the time to drill pilot holes is an innovative approach to ensuring our floating wood shelf remains firmly in place, blending modern technique with timeless practicality.
Install Shelf Brackets
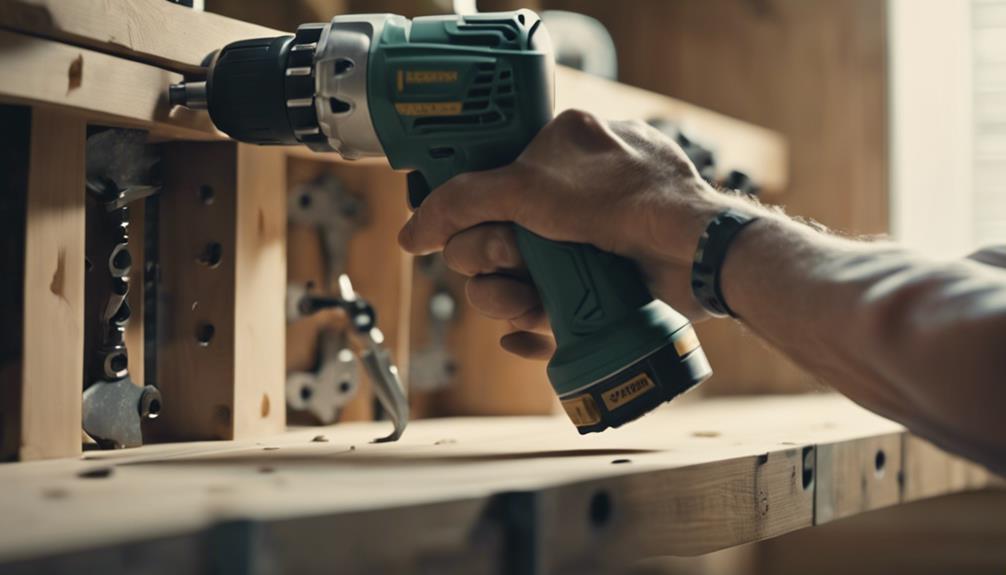
First, let's locate the wall studs for a secure anchor for our floating wood shelf. A stud finder will help us pinpoint these crucial spots.
With the stud locations marked, we can plan out the best placement for our shelf brackets.
Position the brackets strategically, ensuring they cover most of the shelf's depth to provide optimal support and stability. This arrangement will help distribute the weight evenly and prevent any sagging or tilting of the shelf over time.
Find Wall Studs
Finding the wall studs is crucial to securely install the shelf brackets and ensure the stability of your floating wood shelf. By using a stud finder, we can accurately detect the wall studs within the drywall.
These studs, typically spaced 16 inches apart in most homes, provide the necessary support for mounting our floating shelves.
Once the studs are located, it's important to mark their positions on the wall. This step is vital as it ensures that our brackets are securely attached to the studs, preventing shelves from falling. The integrity of our floating wood shelf heavily relies on this secure shelf bracket installation.
Attaching the brackets to the wall studs helps distribute the weight of the shelf and its contents evenly across these structural supports, enhancing the stability and durability of our installation.
A well-executed stud-finding process ensures that our brackets aren't just attached but are firmly anchored, safeguarding our innovative floating shelf design.
Position Brackets Correctly
With the wall studs marked, it's time to position our shelf brackets at the desired height for a secure and level installation. Let's first determine the ideal height for our shelves, balancing functionality and aesthetics. Once we've decided on the height, we need to evenly space the brackets along the wall to ensure maximum stability.
Ensuring that each bracket aligns with a wall stud is crucial for a sturdy installation. Using a level, we can confirm that the brackets are perfectly straight before drilling. This attention to detail will prevent the frustration of a lopsided shelf, maintaining a professional and precise look.
Before securing the brackets, it's essential to pre-drill pilot holes. This step helps prevent the wall from splitting or cracking and ensures that screws can be inserted smoothly. Following the manufacturer's instructions specific to the brackets we're using is important, as different designs may have varying requirements.
Attach the Shelf
When attaching the shelf, we'll start by ensuring we've the right screws and wall anchors for a secure installation. It's crucial to use the provided hardware or find suitable alternatives to maintain the sturdiness of our floating shelf.
Begin by marking the spots on the wall where the shelf brackets will go. This step guarantees accuracy and prevents any errors. Then, firmly insert the wall anchors into these marked positions to support the weight of the shelf.
After securing the anchors, it's time to affix the shelf brackets. Align them with the anchors, insert the screws, and tighten them just enough to keep the brackets in place.
Once the brackets are secure, slide the floating shelf onto them with precision. Ensure the shelf fits snugly and is correctly aligned. Before tightening all screws, double-check the alignment and stability. For extra security, you may opt to use a bit of construction adhesive.
Lastly, take a moment to appreciate the innovative touch our newly mounted floating wood shelf brings to the space.
Check for Levelness
Ensuring the shelf is level is crucial for both its appearance and functionality. Using a level is key to achieving this. Begin by placing the level on top of the shelf surface to determine if it is straight or tilted. The bubble in the level should be centered for a perfectly level shelf. Any deviations will require adjustments.
Minor adjustments can correct any imbalances, as a tilted shelf not only looks unprofessional but also poses a risk of items sliding off. Checking the levelness from different angles is essential for accuracy. Adjusting screws or brackets can help achieve the desired levelness.
Follow this quick reference table for guidance:
| Step | Action |
|---|---|
| 1 | Place the level on the shelf surface |
| 2 | Check the bubble for center alignment |
| 3 | Make necessary adjustments if tilted |
| 4 | Re-check levelness from multiple angles |
| 5 | Ensure there are no imbalances |
Frequently Asked Questions
What Is the Easiest Way to Mount Floating Shelves?
To easily mount floating wood shelves, start by selecting high-quality materials and sturdy brackets that can support the weight capacity of the shelves. Consider using durable hardwood or engineered wood for the shelves, and opt for strong metal brackets for reliable support.
Next, mark the precise placement of the shelves on the wall using a measuring tape and a pencil. Use a level to ensure that the shelves will be perfectly straight once installed. This step is crucial for achieving a professional and polished look in your space.
When it comes to mounting the shelves, make sure to secure them to wall studs for maximum stability. If studs are not available at the desired location, use wall anchors to provide a secure attachment point. This will help prevent the shelves from sagging or coming loose over time.
How Do You Install Floating Shelves on a Wood Wall?
Installing floating shelves on a wood wall requires careful planning and precision. It starts with selecting the perfect wood type that complements the aesthetic of your space. Whether it's rich mahogany, rustic oak, or sleek walnut, the choice of wood sets the tone for your shelf installation.
Next, measure and plan the placement of your shelves. Consider the height and spacing between each shelf to ensure they are both functional and visually appealing. A well-thought-out layout will enhance the overall look of your wall and provide optimal storage or display space for your items.
Before installing the shelves, prepare the wood wall by ensuring it is clean and smooth. If necessary, sand down any rough spots or imperfections to create a flat surface for mounting. This step is crucial for a secure and stable installation that will withstand the weight of your items.
When it comes to tools, choose wisely. Make sure you have the appropriate tools for the job, such as a stud finder, level, drill, screws, and anchors. These tools will help you mount the shelves securely to the wall and prevent any accidents or damage.
How Are Floating Shelves Fastened to the Wall?
To fasten floating wood shelves to the wall, start by using a stud finder to locate the studs. Once you have found the studs, drill pilot holes into them to prepare for securing the shelf brackets. This step is crucial for ensuring the stability and weight capacity of the shelves.
In addition to securing the brackets to the studs, you can also use wall plugs for added support. Wall plugs are inserted into the wall before screwing in the brackets, providing extra reinforcement for the shelves.
It is important to consider the weight capacity of the floating wood shelves to prevent any accidents or damage to the wall. By following these steps and ensuring proper installation, you can enjoy both stability and an aesthetically pleasing design in your space.
How Do You Install Anchors for Floating Shelves?
Installing anchors for floating shelves is a simple process when we plan ahead. Begin by accurately measuring the placement of the holes for the anchors. This step is crucial to ensure that the shelves are level and secure once installed.
Next, select the appropriate anchor types based on the weight capacity of the shelves. It's essential to choose anchors that can support the weight of the items you plan to place on the shelves. This will prevent any accidents or damage to the walls.
Having the right tools for installation is key to a successful mounting process. Make sure you have a drill, screws, a level, and a screwdriver handy. These tools will make the installation easier and more efficient.
Properly preparing the wall before installing the anchors is also important. Ensure the wall is clean and free of any debris that could affect the anchor's grip. This will help the anchors hold securely and prevent any issues with the shelves later on.
Conclusion
We've covered each step for successfully mounting a floating wood shelf. The idea that DIY projects are daunting may now seem less convincing, right?
With the correct tools and meticulous planning, we've transformed what could have been a daunting task into a simple process. Ensuring our shelf is both level and secure not only boosts our confidence but also enhances our space.
Let's take pride in our workmanship and relish the improved functionality and visual appeal of our newly installed shelf.