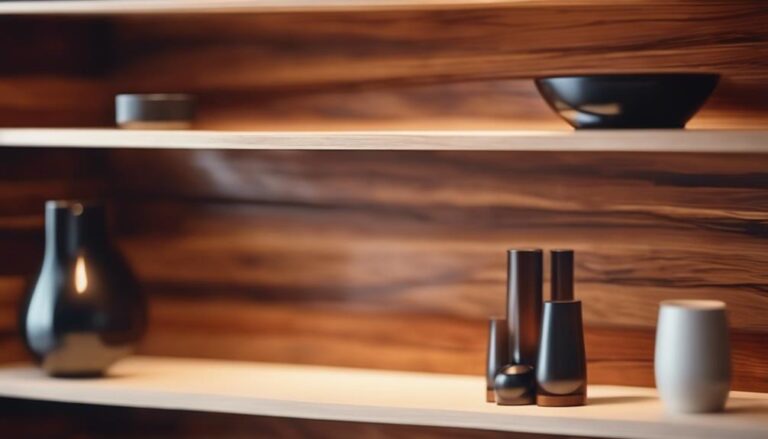
Enhancing the Natural Beauty of Wood With Clear Wood Finish for Floating Shelves
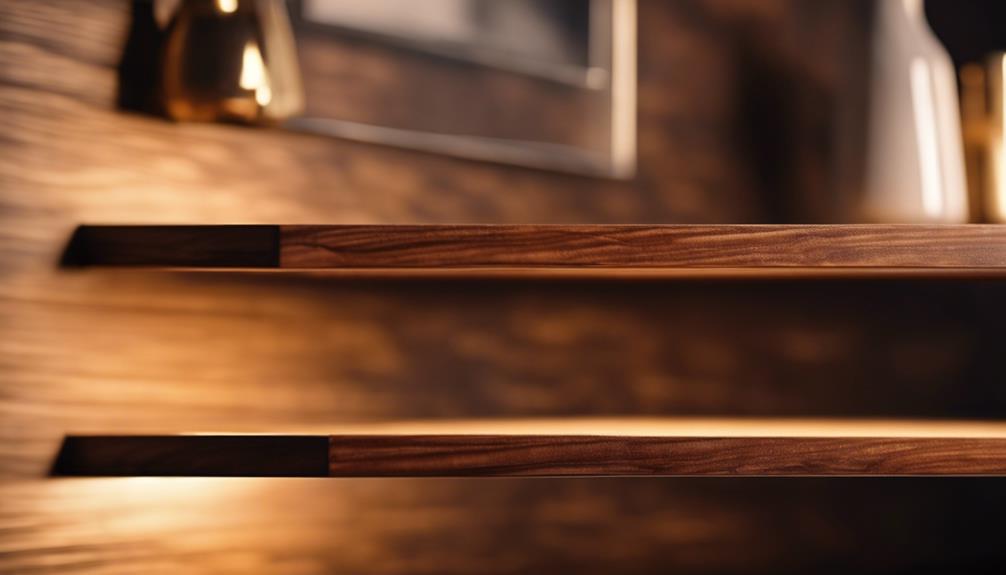
To bring out the natural beauty of wood with a clear finish for floating shelves, we carefully cut precise dimensions from smooth-edged, lightweight poplar. We then assemble the shelves with meticulous alignment, concealing edges using secured poplar strips.
After accurately drilling for brackets, we fill any imperfections with stainable wood filler. A thorough sanding process ensures a smooth surface, ready for the staining stage. Opting for clear finishes such as Tung Oil or a water-based finish not only protects the wood but also accentuates its unique grain patterns.
By securing robust brackets directly into wall studs, we guarantee the stability of the shelves for long-lasting use. Following these steps diligently will result in floating shelves that beautifully showcase the inherent charm and elegance of the wood used.
Key Takeaways
- Enhance the natural beauty of your floating wood shelves by applying Tung Oil. This oil deeply penetrates the wood, enriching the wood grain and providing a lustrous, natural finish that brings out the wood's inherent richness.
- Opt for a water-based finish when coating your floating wood shelves. This clear coat dries quickly, is environmentally friendly, and provides a protective layer that enhances the wood's appearance without compromising its natural beauty.
- Explore a variety of finishes to discover the perfect look that accentuates the unique characteristics of the wood used for your floating shelves. Experimenting with different finishes allows you to customize the overall aesthetic to suit your preferences and style.
- Before applying any finish to your floating wood shelves, ensure that the wood surface is thoroughly sanded to achieve smoothness and promote even absorption of the finish. This preparation step is crucial for a flawless and professional-looking outcome.
- To achieve a consistent stain color and further enhance the natural appearance of the wood on your floating shelves, consider using a pre-stain wood conditioner. This product helps in ensuring uniformity in the staining process, resulting in a more polished and refined look for your shelves.
Measuring and Cutting Wood
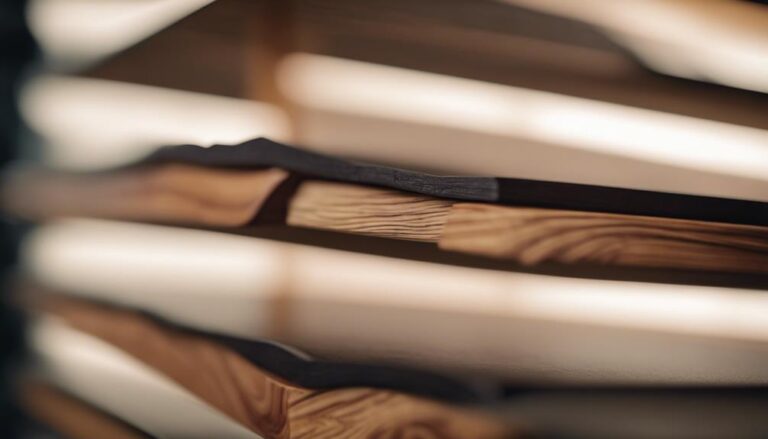
Let's dive into crafting our floating shelves by starting with precise measurements and cutting of the wood slabs. We'll be using lightweight poplar pieces to achieve a modern and elegant look. Poplar is known for its durability and ease of installation, making it the perfect choice for our project.
We begin by measuring each wood slab to ensure that our shelves are exactly 8 inches deep and 18 inches long. This size provides ample space for displaying items while maintaining a clean and minimalist design. With the help of a high-quality saw, we carefully cut the slabs to these dimensions, ensuring smooth and straight edges.
Moving on, we cut the framework to be 2 inches wide. This width offers the stability required for sturdy floating shelves without adding unnecessary bulk. By utilizing poplar pieces, we create a lightweight structure that's easy to install yet strong enough to support various items.
When it comes to finishing options for the wood, we've a few choices to consider. One popular option is to apply a clear varnish to enhance the natural beauty of the wood while providing protection against moisture and wear.
Another option is to stain the wood in a rich walnut or mahogany hue for a more classic and sophisticated look. Whichever finish we choose, it will add a touch of style and elegance to our floating shelves.
Assembling Floating Shelves
Creating our floating shelves involves precise alignment of the framework and internal supports to ensure stability and a seamless appearance. We opt for using lightweight poplar pieces to craft hollow shelves that not only exude elegance but also achieve the desired floating effect. The internal supports play a crucial role by aligning with the wall brackets, guaranteeing the sturdiness and security of our shelves.
To maintain a refined aesthetic, we affix thin poplar strips along the edges using a combination of glue and nails to conceal any visible plywood lines. This step is essential as it enhances the natural wood color and provides a smooth surface for the chosen wood finish. Filling any minor holes with Minwax Stainable Wood Filler is a necessary preparation for the final clear coat application.
Here's a brief overview of our assembly process:
| Step | Action |
|---|---|
| 1 | Align framework and internal supports |
| 2 | Utilize lightweight poplar for constructing hollow shelves |
| 3 | Affix thin poplar strips using glue and nails to cover edges |
| 4 | Fill minor holes with Minwax Stainable Wood Filler |
| 5 | Prepare for the application of the clear wood finish |
Drilling Bracket Holes
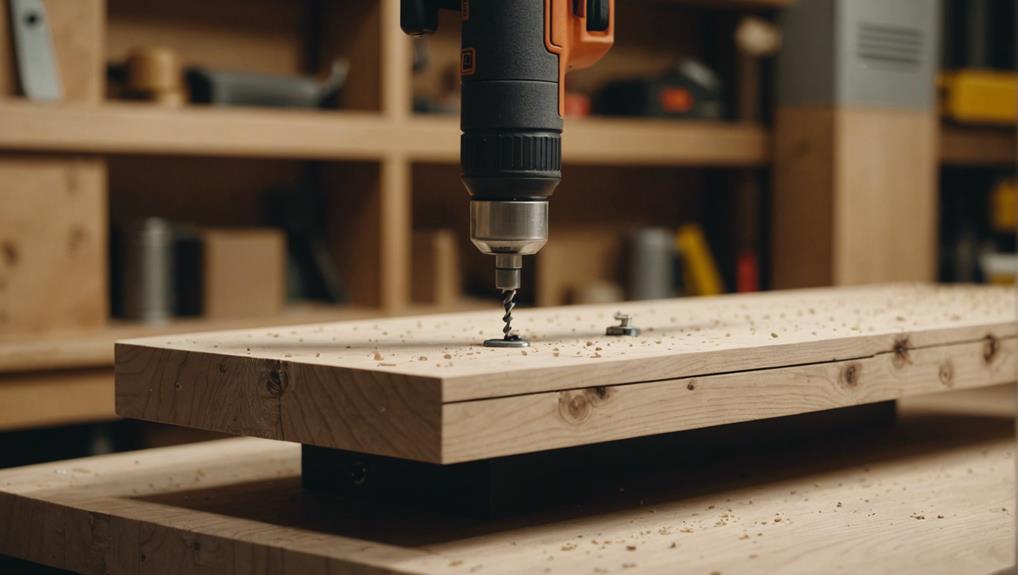
Precisely drilling the bracket holes is crucial for ensuring our floating shelves securely attach to the wall. We start by marking the positions for two holes on the back of each shelf. These holes are designed to fit the wall brackets snugly, providing essential stability to our shelves.
To achieve a professional finish, we carefully match the hole diameter and depth to the size of the wall brackets. This precision fit prevents any wobbling or instability once the shelves are mounted. Using a picture guide or template can help align the bracket holes perfectly with the internal framework of the shelf.
Maintaining control and steadiness during the drilling process is key to avoiding any damage to the wood finish. Once the holes are drilled, we secure the wall brackets within them, completing this important installation step.
Attention to these details not only enhances the functionality of our floating shelves but also preserves the aesthetic appeal of the wood finish, showcasing both innovation and craftsmanship in our design.
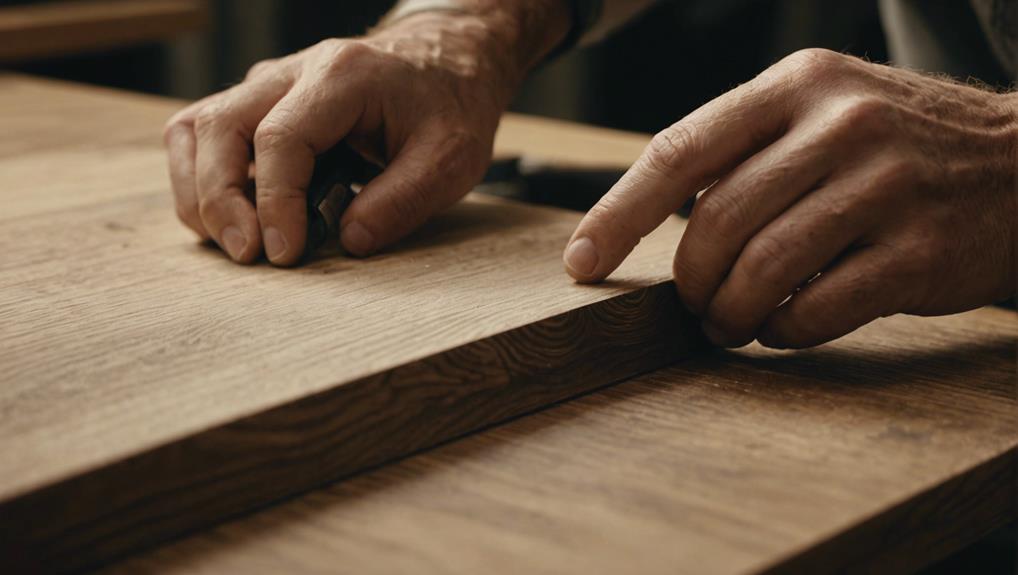
Concealing Edges
For a sleek and flawless appearance, we carefully conceal any rough edges by affixing narrow poplar strips onto the birch plywood using wood glue and finishing nails. This method ensures a seamless integration of the edges with the shelf surface, resulting in a clean and refined look that elevates the overall aesthetic appeal. By opting for poplar strips, we effectively mask the frontal and lateral edges of the plywood, giving the impression of a continuous and unbroken wood grain throughout.
The process begins by measuring and cutting the poplar strips to match the precise dimensions of the edges that require covering. Once the strips are prepared, a thin layer of wood glue is evenly applied along the edge of the birch plywood to ensure a strong and uniform bond.
Carefully positioning the poplar strips over the glued edges, we secure them in place with finishing nails to ensure they're flush and perfectly aligned. To complete the process, any rough areas are smoothed out through sanding, and a clear satin wood finish is applied to harmonize the poplar strips with the rest of the shelf, enhancing the natural beauty of the wood grain.
Filling Imperfections
When filling imperfections on our floating shelves, it's crucial to choose the right wood filler that complements the wood's color and grain.
Opting for a wood filler like Minwax Stainable Wood Filler ensures a flawless integration, especially after countersinking nails and smoothing out the filled areas flush with the surface.
This meticulous preparation is vital for achieving a polished, professional finish on our floating shelves.
Choosing Appropriate Wood Filler
Choosing the right wood filler is crucial in achieving a flawless finish on your floating shelves. A quality wood filler not only fills imperfections but also enhances the natural beauty of the wood. Among the various options available, Minwax Stainable Wood Filler is known for its durability and seamless integration with wood surfaces.
When it comes to filling imperfections, using a reliable wood filler like Minwax is key. Before applying the filler, make sure to counter-sink any nails for a smooth and cohesive look. Follow these steps for the best results:
- Fill Holes: Apply the wood filler to any holes or imperfections, ensuring it's level with the wood surface.
- Allow Drying: Follow the manufacturer's recommended drying time for a strong bond.
- Sand Smooth: Once the filler is dry, sand it flush with the wood surface to create a seamless finish.
- Inspect and Repeat: Check for any remaining imperfections and repeat the process as needed until the surface is flawless.
Seamless Surface Preparation
To achieve a flawless surface on your floating wood shelves, start by meticulously filling any imperfections with a top-quality wood filler like Minwax Stainable Wood Filler. Before applying the wood filler, make sure to counter-sink any nails to prevent them from affecting the smoothness of the shelves.
Fill the shallow holes with the wood filler, ensuring it blends seamlessly with the wood surface. This step is crucial for creating a seamless finish that enhances the overall appearance of your shelves.
Prior to applying the wood filler, sand the wood to a 400-grit smoothness. This level of sanding is essential for ensuring proper adhesion of the filler and achieving a flawless surface.
Once the wood filler has dried, carefully sand it flush with the wood surface. This meticulous sanding process helps eliminate any remaining imperfections, preparing the surface for a clear finish that will enhance the natural beauty of the wood.
By following these steps and using high-quality materials, you can achieve a seamless surface on your floating wood shelves that won't only look visually appealing but also stand the test of time.
A well-prepared surface is key to achieving a professional and polished finish that will elevate the overall look of your shelves.
Staining the Wood
To bring out the inherent beauty of our floating shelves, we'll begin by applying a wood stain to enrich the color and texture of the grain. Staining plays a crucial role in the final look of the wood, allowing us to select a stain that complements our design vision perfectly. Whether we prefer the warm tones of Golden Oak, the subtle charm of Puritan Pine, the timeless appeal of Early American, or the deep richness of Special Walnut, each wood stain option has its own unique characteristics that enhance the natural beauty of the wood.
Before we proceed, it's essential to prep the wood by using a pre-stain wood conditioner. This step ensures that the color penetrates evenly, preventing any patchiness and guaranteeing a consistent finish. Proper sanding is equally important; sanding up to a high grit like 400 creates a smooth surface for the stain to adhere to, resulting in a flawless final look for the clear wood finish.
Here's a quick overview of our process:
- Selecting a Stain: Choose a stain color that complements our design, such as Golden Oak or Puritan Pine.
- Prepping the Wood: Apply a pre-stain wood conditioner for even color absorption.
- Sanding: Sand the wood to a high grit, like 400, for a smooth surface.
- Applying the Stain: Use a brush or cloth to apply the wood stain evenly, following the natural grain of the wood.
Applying Protective Finish
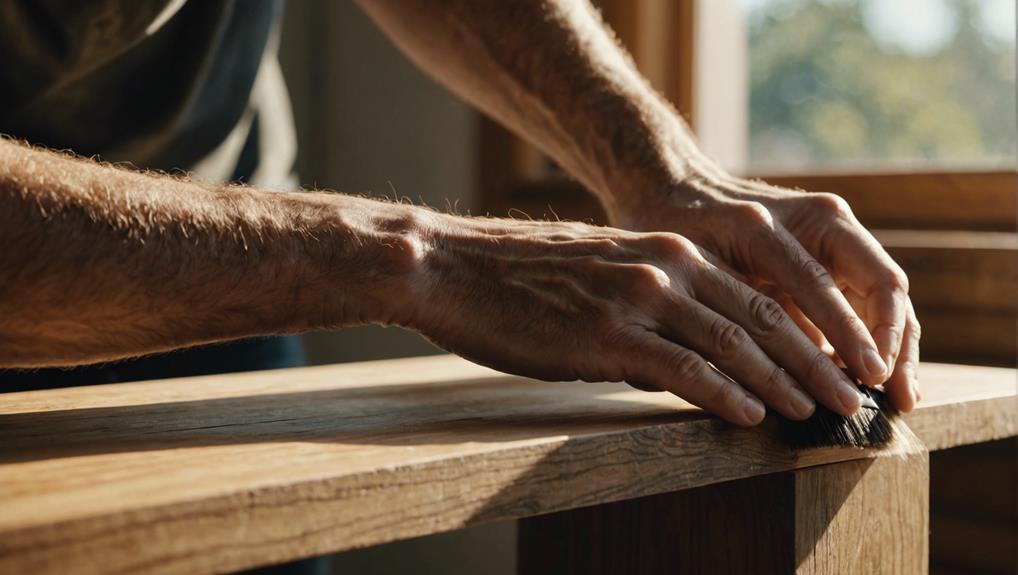
Once the stain is dry, we'll move on to applying a protective finish to ensure our floating shelves are both attractive and long-lasting. Our top choice is Tung Oil, a renowned option for its deep penetration into the wood, enhancing its natural grains, and providing a rich, warm glow. This oil-based finish is highly resistant to wear and tear, guaranteeing that our shelves will remain in top condition for years to come.
For those looking for a more modern alternative, a water-based finish can be an excellent choice. These finishes dry quickly, reducing overall curing time, and are environmentally friendly, emitting fewer volatile organic compounds (VOCs). Not only do they offer a clear, natural appearance, but they also preserve the wood's original color, preventing any yellowing over time.
Experimenting with different finishes, such as Tung Oil and water-based polys, will help us determine the ideal option for our specific type of wood. Understanding the unique characteristics of each finish is crucial.
While Waterlox, an oil-based varnish containing boiled linseed oil, provides a distinctive, glossy look, it may not offer the same level of durability as polyurethane or other water-based finishes. By carefully selecting and applying the appropriate protective coating, we can effectively highlight and safeguard the natural beauty of our floating shelves.
Installing Wall Brackets
When installing wall brackets for our floating shelves, ensuring a secure and perfectly aligned mounting is crucial for achieving a seamless floating effect. This meticulous process requires attention to detail and precise execution for a professional result. Here's a guide to properly installing wall brackets:
First, begin by marking the wall with a level to determine the precise locations where the wall brackets will be mounted. This step ensures that the shelves will be perfectly horizontal when installed.
Next, drill holes into the wall at the marked locations. The diameter and depth of these holes should match the size of the wall brackets to ensure a snug fit, providing stability and balance for the shelves.
After drilling the holes, securely attach the wall brackets to the wall using appropriate fasteners. It's important to ensure that each bracket is firmly anchored to provide robust support for the shelves once installed.
Finally, prepare the shelves by drilling corresponding holes in the back to accommodate the wall brackets. Aligning these holes perfectly with the brackets will streamline the installation process and ensure a smooth fit.
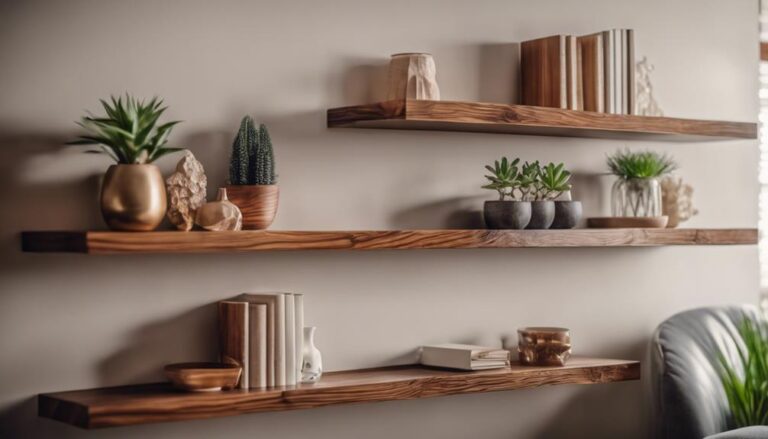
In selecting the wood finish for our floating shelves, we've a variety of options to consider. From classic finishes like natural wood stain to more modern choices like matte black or white, the finish can complement the overall aesthetic of the room. Each finish option offers a unique look and feel, allowing us to customize our shelves to suit our personal style and the existing decor.
When choosing a wood finish, it's important to consider the durability and maintenance requirements of each option. Some finishes may require more upkeep to maintain their appearance, while others are more resistant to wear and tear. By selecting a finish that aligns with our preferences and lifestyle, we can ensure our floating shelves not only look great but also stand the test of time.
Mounting the Shelves
To ensure our floating shelves are securely and evenly mounted, we must follow these essential steps. Begin by selecting sturdy wall brackets that can support the weight capacity recommended by the manufacturer.
Using a reliable level tool, make sure the brackets are perfectly level for a straight and uniform installation.
Consider the placement of studs in the wall to enhance stability. Attaching the wall brackets to studs will prevent shelves from sagging or coming loose. If studs aren't conveniently located, opt for high-quality wall anchors that can handle the weight of the shelves.
Once the wall brackets are securely attached, slide the shelves onto them carefully, ensuring a snug fit. Regularly check for levelness throughout the installation process to maintain a balanced appearance.
Frequently Asked Questions
What Brings Out Natural Beauty in Wood?
To bring out the natural beauty in wood, it's essential to highlight its unique wood grain. Each type of wood has its own distinctive grain pattern, which can be accentuated by choosing the right finish. By selecting a finish that enhances the natural variations in the wood grain, you can create a stunning visual effect that showcases the wood's inherent beauty.
When considering staining options for wood, it's important to take into account the type of wood you're working with. Some woods, like oak or cherry, take stain more evenly than others, such as pine or maple. By choosing a stain that complements the natural color of the wood, you can achieve a harmonious look that enhances the overall aesthetic appeal of the piece.
Preserving the wood texture is another key aspect of bringing out its natural beauty. Whether you prefer a smooth, glossy finish or a more rustic, textured look, the right finish can help protect the wood while also showcasing its unique texture. By applying a clear finish, you can not only enhance the natural patina of the wood but also ensure that it remains vibrant and innovative for years to come.
What Is the Most Natural Looking Wood Finish?
For floating wood shelves, the most natural-looking wood finish involves a combination of oil finishes and wax coatings. This combination enhances the wood's innate beauty without overpowering it. Matte varnish provides a subtle appearance, while a satin sheen adds a touch of elegance, making it perfect for floating wood shelves in any room.
When considering wood finish options for floating shelves, it is essential to prioritize a finish that brings out the natural beauty of the wood while providing durability and protection. Oil finishes penetrate the wood, highlighting its unique grain patterns and colors, while wax coatings add a protective layer that enhances the wood's natural luster and warmth.
How to Finish Wood for Floating Shelf?
Start by sanding the wood using fine-grit sandpaper to achieve a smooth surface for your floating shelf. This step is crucial for ensuring a professional finish and enhancing the overall appearance of the wood. By sanding the wood properly, you can remove any rough patches or imperfections that may affect the final result.
Once the wood is sanded, consider the different stain options available to achieve your desired color for the floating shelf. Stains come in various shades and tones, allowing you to customize the look of the wood to suit your style and preferences. Whether you prefer a light, natural finish or a darker, more rustic look, choosing the right stain can make a significant difference in the final outcome.
When applying the stain, make sure to follow the manufacturer's instructions and allow for proper drying times between coats. This will help ensure that the stain penetrates the wood evenly and creates a consistent finish across the entire surface of the floating shelf. Additionally, allowing each coat to dry thoroughly before applying the next one will prevent any streaking or blotching that can occur with rushed or improper application.
If there are any imperfections or repairs needed on the wood, address them early in the process to avoid any issues with the final finish. Whether it's filling in cracks, repairing dents, or fixing any other damage, taking care of these issues before applying the finish will result in a flawless end result that showcases the natural beauty of the wood.
How Can I Make My Natural Wood Look Better?
Wood grain can present a challenge when trying to achieve a flawless finish for your floating wood shelf. Start by focusing on sanding techniques to achieve a velvety smooth surface. Carefully sand the wood in the direction of the grain using fine-grit sandpaper, gradually working your way to a finer grit for a polished look.
To enhance the natural beauty of the wood, consider using stains to add color and depth to the grain. Choose a stain that complements the wood species and desired aesthetic, whether it's a warm oak or a rich mahogany. Apply the stain evenly with a brush or cloth, following the manufacturer's instructions for drying and curing times.
Once the stain has dried, protect your floating wood shelf with a durable coating to maintain its innovative appearance. Opt for a clear polyurethane finish for a glossy look or a matte finish for a more subtle sheen. Apply multiple coats of the finish, sanding between each layer for a smooth and professional finish.
Conclusion
We've meticulously measured and cut high-quality wood for our floating shelves, ensuring precision in every step of the process.
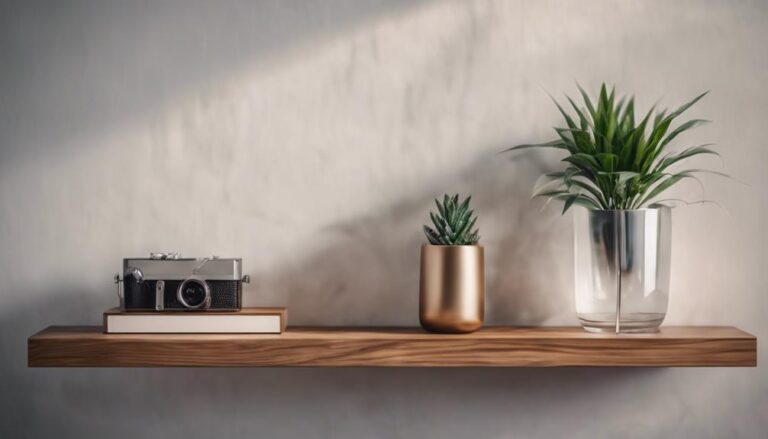
Applying a protective clear wood finish not only safeguards the shelves but also enhances the innate beauty of the wood, bringing out its natural grains and colors. This attention to detail results in stunning focal points that elevate the aesthetic of any room.
By combining our craftsmanship with the durability of the clear wood finish, we've created functional shelves that not only serve a purpose but also add a touch of elegance to the space. The clarity and smoothness of the finish further emphasize the quality of our DIY project, showcasing our expertise with pride.
In selecting the perfect clear wood finish for our floating shelves, we've embraced a balance between protection and enhancement, ensuring that our hard work shines through in both functionality and visual appeal.