Tips for Achieving a Smooth Finish When Sanding Floating Wood Shelves

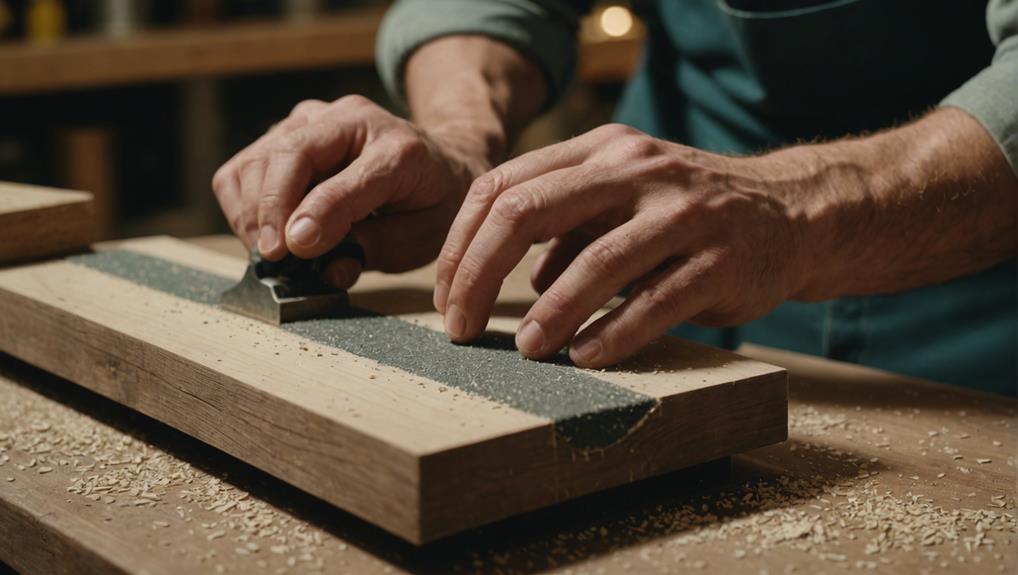
To achieve a smooth finish on floating wood shelves, begin by sanding with 80-grit sandpaper to remove any prominent imperfections. Progress to 120-grit sandpaper for further refinement, and finally, use 220-grit sandpaper for a flawless, smooth surface. Remember to always sand in the direction of the wood grain to prevent any unwanted scratches.
It is crucial to inspect the shelves regularly during the sanding process to ensure a consistent and even finish. After sanding, thoroughly clean the shelves to eliminate any dust particles that could affect the final result.
To prepare the wood for staining or finishing, consider using mineral spirits or a pre-stain conditioner like Minwax to enhance the overall appearance.
For the final finish, use a foam brush to apply multiple thin coats of your chosen sealant, such as matte, satin, or glossy polyurethane. This method ensures even coverage and long-lasting protection for your floating wood shelves.
By following these steps meticulously, you can achieve a professional, smooth finish that will impress anyone who sees your beautifully crafted shelves.
Key Takeaways
- Start sanding with 80-grit sandpaper to eliminate any rough imperfections on the floating wood shelves. This coarse grit will help smoothen out uneven surfaces effectively.
- Gradually transition to finer grits such as 120 and then 220 to achieve a polished and smooth finish on the wood shelves. These finer grits will help refine the surface further, ensuring a sleek appearance.
- Remember to always sand in the direction of the wood grain to maintain a consistent and even finish across the floating shelves. This technique will prevent any unwanted scratches or marks on the surface.
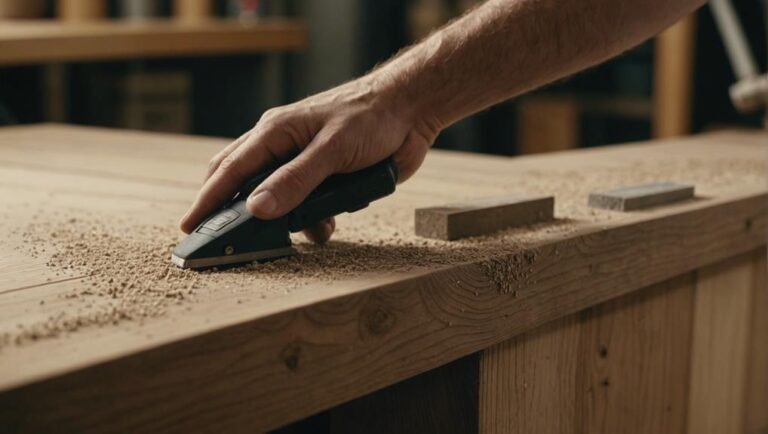
- Utilize a sanding block or orbital sander to maintain consistent pressure while sanding the shelves. This will help in achieving a uniform smoothness throughout the surface of the wood.
- Prior to applying any finish, make sure to thoroughly clean the shelves to remove all dust and debris. A clean surface will ensure that the finish adheres properly and results in a professional-looking final product.
Choosing the Right Sandpaper
Choosing the right sandpaper is crucial for achieving a smooth and professional finish on your floating wood shelves. Begin with 80-grit sandpaper to address rough surfaces and eliminate any flaws. This initial step ensures that you're starting with a clean slate, smoothing out the grain and preparing the wood surface for finer sanding.
Following the initial sanding, transition to 120-grit sandpaper. This grade is ideal for refining the wood, ensuring that any remaining rough patches are smoothed out. This process sets the foundation for a truly polished finish, enhancing the appearance of your floating shelves.
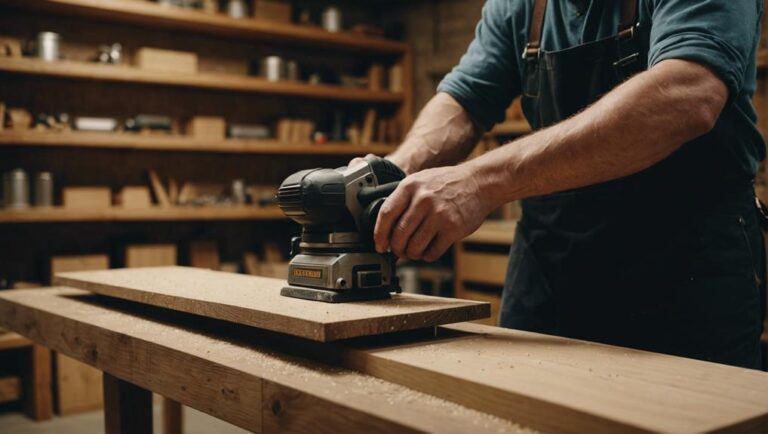
To complete the sanding process, use 220-grit sandpaper for the final touch. This finer grit will provide the wood surface with a flawless smoothness, ready for the application of stain or finish. Throughout these steps, utilizing a sanding block or orbital sander is essential for maintaining consistent pressure and achieving uniform results.
Before proceeding with staining, carefully inspect the wood surface for any lingering scratches or rough spots. This thorough examination guarantees that the end product will be both aesthetically pleasing and long-lasting.
Preparing the Shelves
To prepare the floating wood shelves, we'll start by sanding them thoroughly with coarse 60 or 80 grit sandpaper to eliminate any rough patches and imperfections. This initial step is crucial for achieving a smooth finish later on. As we sand, our focus isn't only on smoothing the wood but also on creating a pristine surface for the upcoming steps.
Moving on, we'll progress through finer grit sandpapers, transitioning from 120 to 220, ensuring that each pass effectively removes the scratches from the previous grit. The ultimate aim here is to attain the smoothest surface possible for our shelves.
It's also essential to clean the shelves meticulously to ensure they're free of any dust and debris. Here's what needs to be done:
- Wipe Down with Mineral Spirits or Pre-Stain Wood Conditioner: This step readies the wood for staining and aids in achieving a uniform color.
- Thorough Dust Removal: Utilize a tack cloth or vacuum to eradicate every speck of dust.
- Application of Minwax Wood Conditioner: This product helps the wood absorb the stain consistently, preventing any splotchiness and enhancing the final color outcome.
Sanding Techniques
Learning proper sanding techniques is crucial for achieving a flawless finish on our floating wood shelves. We begin by using 80 grit sandpaper to remove imperfections and rough spots from the raw wood. Employing a hard sanding block ensures the surface remains flat, preventing any uneven sanding marks from forming.
As we progress, we transition to finer grits such as 120 and 220, which help improve the smoothness of the wood and prepare it for the finishing touches.
Sanding in the direction of the wood grain is a key practice to avoid any scratches or swirl marks that could mar the final finish. Regularly inspecting the surface during the sanding process is essential in achieving consistent and even results, ensuring that the wood is fully prepared for the next steps.
To achieve a professional appearance, applying Minwax stain, water-based stains, or Tung Oil can enhance the natural beauty of the wood. Prior to this, using Wood Filler can effectively address any minor imperfections present.
Applying the Final Coat
When preparing the floating wood shelves for the final coat, it's crucial to ensure they're clean and free of dust. This step is essential to avoid any imperfections in the finish.
To apply the final coat, we'll use a foam brush. Foam brushes are great for achieving a smooth finish and minimizing brush marks. It's important to apply multiple thin coats for better coverage and a more appealing look.
Before applying the final coat, it's necessary to seal the wood with a compatible primer. This helps prevent the wood grain from raising and ensures a uniform finish. If the wood has been stained, using a Minwax Polycrylic sealer can provide added protection.
When selecting the waterborne enamel for the final coat, consider getting it from specialty stores like SWP or BM for quality assurance. Unlike oil-based finishes, waterborne enamel effectively conceals wood grain and imperfections, giving the shelves a professional appearance.
Sealing and Protecting the Finish
To protect our floating wood shelves, it's essential to seal the finish properly. This step is crucial in safeguarding the shelves from moisture, scratches, and everyday wear.
Opting for a clear sealant like polyurethane is recommended as it offers a durable finish that enhances the natural beauty of the wood. Depending on your style preferences, you can choose from matte, satin, or glossy finishes for a customized look.
Before applying the sealant, consider using a stain such as Minwax Simply White to achieve the desired color tone. Using a foam brush for staining can help evenly distribute the stain, ensuring a smooth and uniform finish.
Once the stain has dried, creating a protective layer with a mixture of linseed oil and mineral spirits can help prevent the wood from drying out, warping, or sustaining damage over time.
For a more natural appearance, consider using a product like Butcher Block oil, which not only seals but also conditions the wood, keeping it looking fresh and vibrant.
Properly sealed shelves will ensure longevity, making maintenance easier and preserving the innovative design of our floating wood shelves for years to come.
Frequently Asked Questions
How Do You Finish Wood Floating Shelves?
When preparing floating wood shelves for installation, it's crucial to start by sanding the wood to ensure a smooth and even surface. Sanding helps to remove any rough spots, imperfections, or previous finishes that may affect the final look of the shelves. Using a fine-grit sandpaper, such as 120 to 220 grit, will help achieve a professional finish.
After sanding, it's important to choose the right stain for the wood type and desired aesthetics. Different wood types absorb stains differently, so testing the stain on a scrap piece of wood can help you determine the final look before applying it to the shelves. Whether you prefer a natural wood look or a darker finish, selecting the right stain is key to achieving the desired outcome.
Once the stain has been selected and applied to the shelves, it's time to consider the finishing touches. Depending on the style and design of the shelves, you may choose to add a clear coat or sealant to protect the wood and enhance its durability. This final step not only adds a layer of protection but also brings out the natural beauty of the wood, making your floating shelves stand out in any room.
How to Make Wood Shelves Smooth?
Achieving a silky smooth finish on your floating wood shelves involves carefully sanding in the direction of the wood grain using the appropriate tools such as sanding blocks and sponges. Before sanding, it's important to apply a wood conditioner to help the shelves absorb the stain evenly and prevent blotching.
After sanding, make sure to thoroughly remove any dust and debris from the shelves using a tack cloth or a damp cloth. This step is crucial to ensure a flawless finish when applying the final stain or sealant. Additionally, wearing protective eyewear is essential to keep your eyes safe from any flying debris during the sanding process.
How to Get Smooth Finish on Wood?
To get a smooth finish on a floating wood shelf, it is essential to follow a precise sanding technique. Using a power sander and sanding block can help in achieving a uniform surface. Make sure to move the sander in the direction of the wood grain to prevent any scratches or uneven spots.
Before sanding, applying a wood conditioner can help the wood absorb stain more evenly, resulting in a smoother finish. After sanding, applying a sanding sealer can further enhance the smoothness of the wood surface. A sanding sponge can be useful for final touches and ensuring a flawless finish on your floating wood shelf.
What Grit to Sand Shelves?
Did you know that when preparing floating wood shelves for installation, it's essential to follow a grit progression for optimal results? Start sanding with 80 grit sandpaper, then move on to 120 grit, and finally finish with 220 grit for a smooth surface. Using a sanding block or orbital sander will ensure even sanding and a professional finish. And don't forget to remove any dust before moving on to the next step in the shelf installation process.
Conclusion
By following these steps, we can achieve a flawless finish on our floating wood shelves. With the right sandpaper, thorough preparation, precise sanding techniques, and the perfect final coat, our shelves will look like they belong in a professional showroom. The key lies in patience and attention to detail. Are you prepared to transform your shelves into works of art? Let's start and make every inch of wood shine with perfection.
To begin, ensure that your floating wood shelves are clean and free of any dust or debris. Use a damp cloth to wipe down the surface and allow it to dry completely before proceeding. This step is crucial for ensuring a smooth finish when sanding.
Next, choose the appropriate sandpaper grit for the job. Start with a coarser grit to remove any rough spots or imperfections on the wood surface. Gradually work your way up to finer grits for a smoother finish. Remember to sand in the direction of the wood grain to avoid damaging the surface.
When sanding, apply consistent pressure and make smooth, even strokes across the entire surface of the shelf. Take your time and pay attention to detail, ensuring that you cover every inch of the wood. This meticulous approach will result in a uniform finish that's ready for the final coat.
After sanding, wipe down the shelves again to remove any leftover dust. Then, apply a high-quality finish or sealant to protect the wood and enhance its natural beauty. Choose a finish that complements the wood grain and matches the overall aesthetic of your space.
By following these steps and giving your floating wood shelves the care and attention they deserve, you can achieve a professional-looking finish that will impress anyone who sees them. Embrace the process and enjoy the transformation as your shelves become stunning pieces of functional art in your home.


