
How to Remove Scratches From Your Floating Wood Shelf
To get rid of scratches on your floating wood shelf, you'll need wood filler, sandpaper, a stain marker, a soft cloth, and polyurethane finish.
First, clean the scratched area gently with a mild soap solution and ensure it's completely dry before you begin.
Apply matching wood filler using a putty knife, allowing each layer to dry thoroughly.
Once dry, carefully sand the area with fine-grit sandpaper to achieve a smooth finish.
Use a stain marker to blend the repair seamlessly, then seal it with a coat of polyurethane.
By following these steps and maintaining your shelf regularly, you can prevent future scratches and maintain its durability and appearance for years to come.
Key Takeaways
- Start by cleaning the scratched area with a soft cloth and a mild soap solution. Make sure not to oversaturate the wood.
- Next, use a putty knife to apply wood filler that matches the color of the wood for deeper scratches. Allow the filler to fully dry before sanding it smoothly with fine-grit sandpaper.
- For minor scratches, lightly sand the area and then apply a polyurethane finish to seal and protect the wood.
- To maintain the polyurethane finish, regularly dust the shelf with a soft cloth and use mild soap for deeper cleaning. This will help keep your floating wood shelf looking its best for years to come.
Gather Your Materials
Gathering your materials is key when it comes to removing scratches from your floating wood shelf. To get started, make sure you have wood filler, sandpaper, a stain marker, a soft cloth, and polyurethane finish on hand. Each item serves a specific purpose in the repair process, from filling and smoothing to color-matching and protecting the repaired area. Without these essential materials, your repair may not turn out as professional-looking as you'd like.
Sandpaper is used to smooth out scratches, while wood filler is perfect for filling in deeper gouges. The stain marker helps maintain color consistency, and the polyurethane finish seals the repair, providing a protective layer. By understanding the unique contributions of each material, you can effectively tackle any scratches on your floating wood shelf.
Having the right tools ready before you begin will save you time and effort. By gathering all the necessary materials in advance, you can work without any interruptions and ensure a seamless process. Knowing the purpose of each tool is crucial in preventing further damage and achieving a successful scratch removal.
Clean the Scratched Area
Before we dive into fixing those scratches, let's ensure the area is clean and free from any dust or debris. Take a soft cloth and gently wipe the surface to remove any loose particles. This step is crucial in our DIY scratch repair process as it helps us avoid causing additional damage and sets the stage for a successful fix on the floating wood shelf.
For a more thorough cleaning, create a mild soap solution by mixing soap with water. Lightly dampen the cloth with the solution and wipe the scratched area gently. Be careful not to oversaturate the wood, as too much moisture can lead to warping or other damage. Stay away from harsh chemicals or abrasive cleaners, as they can harm the wood's finish and worsen the scratches, working against our repair efforts.
Ensuring the scratched area is properly cleaned is key to the effectiveness of our scratch removal process. By keeping the surface clean and dry, we create an optimal setting for the following steps. This attention to detail not only improves the longevity of our floating wood shelf but also underscores the importance of preventing scratches through regular maintenance and careful handling.
Once the area is spotless, we can confidently move forward with the next phase of our DIY scratch repair project.
Apply Wood Filler
To start, carefully select the appropriate wood filler for the scratched area on the floating wood shelf. It's essential to choose a filler that matches the shelf's wood type and color for a seamless blend and a visually appealing finish. Opting for high-quality, stainable wood fillers can significantly impact the outcome, especially for our audience keen on innovative solutions.
When applying the wood filler, use a putty knife to scoop a small amount and press it gently into the scratch, ensuring complete coverage of the damaged area. Smooth out the filler evenly to prevent any irregularities or gaps.
For deeper scratches, consider applying multiple layers, allowing each one to dry before adding the next. During application, maintain consistent pressure to ensure a strong bond between the filler and the wood surface. Precision and patience are key in this process, guaranteeing the best possible results.
Let Filler Dry
The wood filler must dry completely before we can proceed with sanding. This step is crucial for ensuring a smooth and even surface, preventing any future shrinking or cracking of the filler. Different products have varying drying techniques, so it's important to follow the manufacturer's instructions for the best results. Drying times typically vary from a few hours to overnight, depending on the depth and size of the scratches that have been filled.
It's important to manage our time effectively and be patient during this process. Rushing it could compromise the quality of our repair work. Let's make sure to allocate enough time for the filler to cure thoroughly, even if it means waiting longer than we'd prefer. This patience will pay off in achieving a professional-looking finish on our floating wood shelf.
While waiting for the filler to dry, we can use this time productively by organizing our tools or planning the next steps. By staying disciplined and allowing the filler to dry properly, we can ensure the best possible outcome.
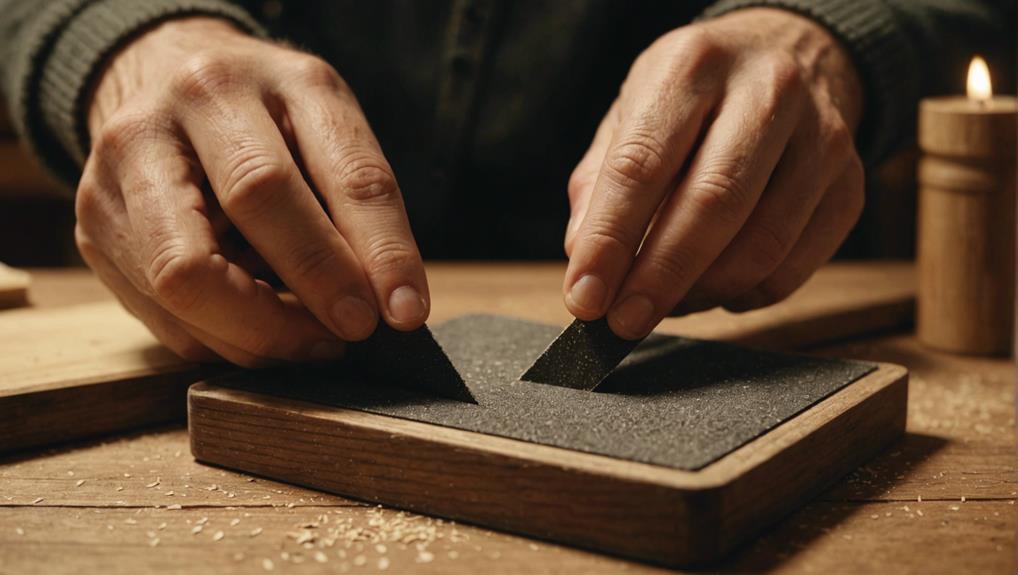
Sand the Filled Area
Starting with the filled area, gently sand it using fine-grit sandpaper to achieve a smooth and even surface. This sanding process ensures that the wood filler seamlessly blends with the surrounding wood, creating a flawless finish. By removing imperfections, we set the stage for a professional-looking result.
Surface preparation is crucial, so using fine-grit sandpaper, sand back and forth with a light touch to avoid damaging the surrounding finish. The goal is to create a level surface that will allow the stain marker and polyurethane finish to adhere perfectly. This meticulous sanding process not only smooths out the filled scratches but also shapes the foundation for the next steps in the repair process.
Sanding may appear to be a minor task, but it plays a significant role in achieving a high-quality finish. By carefully preparing the surface, we ensure the longevity and visual appeal of our floating wood shelf. Each step, including sanding, contributes to the overall durability and aesthetic of the shelf.
Color Match With Stain
To effectively conceal scratches on your floating wood shelf, it's crucial to select a stain marker that closely matches its color. Start by testing the stain marker on a small, inconspicuous area to ensure a seamless blend. This initial step is essential for achieving a flawless repair without any unexpected color discrepancies.
Once you've confirmed a good color match, carefully apply the stain marker along the scratch, following the direction of the wood grain. This technique helps the marker blend naturally with the shelf's surface, maintaining its aesthetic appeal. After application, use a soft cloth to wipe off any excess marker and prevent an uneven or blotchy finish.
Allow the stain marker to dry completely before evaluating the results. This drying period is critical for determining if additional coats are needed to achieve a perfect color match. Applying multiple coats, if necessary, ensures that your floating wood shelf maintenance meets professional standards.
Here's a simple guide to the process:
- Test Stain Marker: Apply to a small, hidden area to confirm color match.
- Apply Stain Marker: Follow the wood grain for a natural blend.
- Wipe Excess: Use a soft cloth to prevent blotchy appearance.
- Drying & Evaluation: Allow the marker to dry completely before assessing and applying additional coats if needed.
Apply Polyurethane Finish
To maintain the beauty and protect our floating wood shelf, applying a polyurethane finish is crucial. This finish not only enhances the wood's natural appeal but also creates a strong barrier against potential damage.
When selecting a polyurethane finish, opt for a satin or semi-gloss sheen for the perfect blend of style and durability. Water-based polyurethane is ideal due to its fast drying time and low odor, ensuring a smoother application process that's environmentally friendly.
Before you start applying the finish, ensure the shelf is clean and free of dust. To achieve a professional result, use a high-quality brush or foam applicator to apply thin, even coats. Multiple coats are necessary, so follow the manufacturer's instructions on drying times between each layer. Lightly sand the surface with fine-grit sandpaper between coats to achieve a smooth finish.
To maintain the polyurethane finish, regularly dust the shelf with a soft cloth and avoid using harsh chemicals that could harm the finish. For deeper cleaning, a damp cloth with mild soap is sufficient.
Frequently Asked Questions
How Do You Get Scratches Out of Floating Wood Floors?
To repair scratches on our floating wood shelves, we employ a combination of buffing techniques and a specialized wax filler. The process involves carefully applying the wax filler to the scratched area and then using a buffing tool to smooth it out, effectively eliminating the scratches. This innovative method not only restores the appearance of the shelves but also provides an added layer of protection against future damage.
What Takes Scratches Out of Wood?
Let's dive into the world of floating wood shelf maintenance and discover some magical solutions for repairing scratches. Wood fillers and stain markers that match the shelf's finish can work wonders in hiding those pesky scratches. Once you've applied these concealers, consider sealing the shelf with a durable polyurethane coat to ensure it looks good as new.
When it comes to repairing scratches on floating wood shelves, using wood fillers can help fill in the damaged areas seamlessly. These fillers are designed to match the color and texture of the wood, making the scratches less noticeable. Additionally, stain markers can be used to touch up the repaired areas and blend them in with the rest of the shelf.
To ensure the longevity of your floating wood shelf after repairing scratches, applying a polyurethane seal is crucial. This protective coat not only adds a layer of durability but also enhances the overall appearance of the wood. It acts as a barrier against moisture, dirt, and other environmental factors that can potentially damage the shelf.
Can You Get Scratches Out of Laminate Wood?
Absolutely, scratches on floating wood shelves can be repaired easily. To effectively remove scratches, consider using a wood scratch repair kit for deeper marks or a color-matched marker for lighter scratches. It's important to address scratches promptly to maintain the pristine appearance of your floating wood shelves. Remember, taking preventive measures is key in preserving the beauty of your shelves for years to come.
How Do You Fix Scratches on Wood Veneer?
To repair scratches on floating wood shelves, begin by identifying a stain marker that closely matches the color of the wood veneer. Carefully fill the scratches with wood filler, ensuring that it blends seamlessly with the surrounding surface. When sanding the filled scratches, be mindful of the thickness of the veneer to avoid causing further damage.
After sanding, consider applying a sealant such as polyurethane to protect the repaired area and provide a flawless finish. This will not only conceal the scratches but also enhance the overall appearance of the floating wood shelf. Regular maintenance and prompt repairs can help preserve the beauty and functionality of your shelves for years to come.
Conclusion
In conclusion, dealing with scratches on your floating wood shelf is simpler than you may think. Remember, it's better to prevent issues than to fix them later. By gathering the necessary materials, cleaning the affected area, applying wood filler, and following up with sanding, staining, and finishing, you can restore its original charm. Have faith in the process, and you'll achieve professional-looking results. With patience and attention to detail, your shelf will soon regain its pristine appearance.
Maintaining your floating wood shelf is essential to prolong its lifespan and keep it looking its best. Regular cleaning and inspection can help identify issues like scratches early on, allowing you to address them promptly. By following the steps outlined above, you can effectively repair scratches and maintain the beauty of your floating wood shelf for years to come.
Remember, a well-maintained floating wood shelf not only adds functionality to your space but also enhances its aesthetic appeal. By taking the time to care for your shelf properly, you can enjoy its beauty and utility for a long time.
So, don't hesitate to give your floating wood shelf the attention it deserves—it will thank you with lasting beauty and functionality.