Tools Needed for Mounting a Floating Wood Shelf
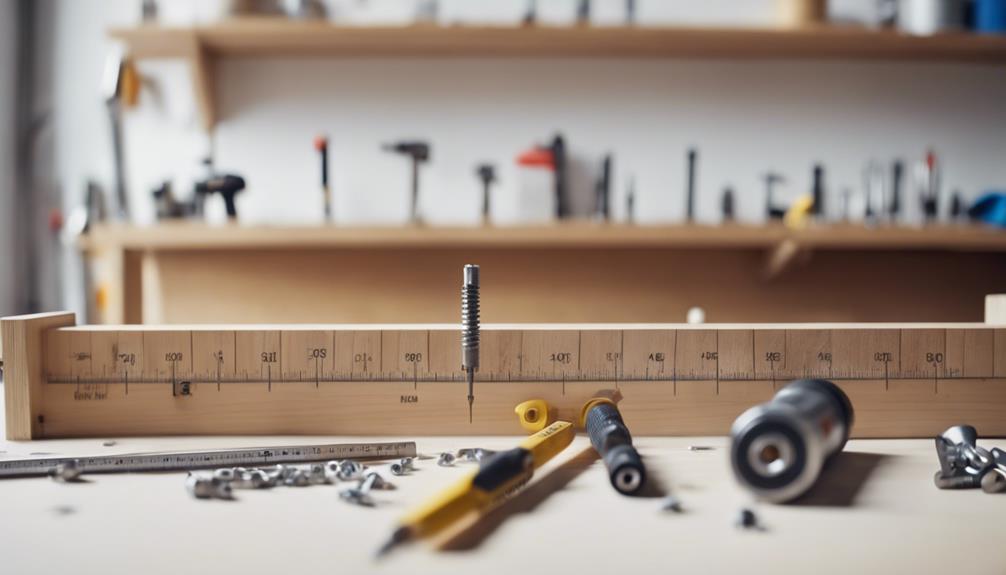
When mounting a floating wood shelf, having the necessary tools at hand is crucial for a successful installation. You will require wood screws, a circular saw or table saw for cutting, a power drill with appropriate drill bits, a measuring tape, and a level for accuracy.
For a polished finish, consider using sandpaper and an orbital sander. Opt for solid wood with flat sides for the shelf itself and ensure stability with floating shelf brackets. Adding a backer board made of scrap wood can enhance the overall durability of the installation.
These tools and materials are essential for achieving a sleek and modern floating shelf setup effortlessly. Let’s delve into the specifics to ensure a smooth mounting process.
Key Takeaways
To mount a floating wood shelf, you’ll need a power drill to make holes and secure screws. It’s essential to choose the right wood screws for a strong and durable connection. Make sure to take accurate measurements with a measuring tape to ensure the shelf fits perfectly in your desired space.
Before drilling, use a level to check the alignment of the shelf. This step is crucial in ensuring that your shelf is straight and balanced once installed. Additionally, select the appropriate drill bits for creating pilot holes, main holes, and anchors. These will help you secure the shelf firmly to the wall.
By following these steps and using the right tools, you can easily install a floating wood shelf in your home. The key is to be precise in your measurements and to use quality screws and drill bits for a secure and long-lasting mount.
Wood for Shelf
Choosing the right wood for your floating shelf is essential for both its function and appearance. To begin, opt for a solid wood that’s at least 1 inch thick and 5 inches deep. This ensures that your shelf can support the weight of your displayed items while maintaining a sleek and contemporary design.
When selecting solid wood, prioritize varieties known for their strength, such as oak, maple, or walnut. These types of wood not only provide the necessary durability but also offer beautiful grain patterns that can enhance the visual appeal of your space. Look for wood with a flat side, especially if it has live edges, to ensure stability when mounting the shelf.
In addition to durability and stability, the visual quality of the wood is crucial. The grain and finish of the solid wood will significantly impact the overall appearance of your floating shelf. By choosing a well-crafted wood, you can elevate a simple shelf into a striking focal point that seamlessly complements modern interior designs.
Floating Shelf Brackets
When installing a floating wood shelf, it’s crucial to choose the right brackets to ensure stability and support. Selecting brackets that can handle the weight and dimensions of your shelf is key. One highly recommended option is the Dolle Strongfix floating shelf brackets, known for their sturdy support and innovative design. These brackets are specifically designed to support shelves up to 10 inches deep, making them versatile for various shelving projects.
For optimal support and durability, it’s important to use wood that’s at least 1 inch thick and over 4 inches deep for your shelf. This compatibility between the wood and brackets is essential for a secure installation. The Dolle Strongfix brackets aren’t only strong but also cost-effective, usually priced around $6.99 per pair. Despite their affordability, these brackets don’t compromise on quality or performance, making them a great choice for DIY enthusiasts and professionals alike.
Choosing the right dimensions for both the wood and floating shelf brackets is a crucial first step in any successful shelving project. By paying attention to these details, you can achieve a sleek and modern look that offers both functionality and aesthetic appeal.
Scrap Wood
Scrap wood proves to be a valuable asset in the installation of floating wood shelves, offering increased strength and stability. By utilizing a piece of scrap wood as a backer board, we can ensure that the weight of the floating shelf is evenly distributed on a solid surface, enhancing its stability and preventing potential wall damage during the installation process.
When choosing the right size for the scrap wood, it’s essential to select a piece slightly larger than the shelf bracket to provide better support and a more secure mounting solution. This approach reflects the importance of maximizing resources, with scrap wood being a cost-effective and efficient option for enhancing the shelf’s durability.
Attaching brackets to scrap wood creates a reliable surface, reducing the risk of the floating shelf sagging or becoming detached over time, especially when dealing with weaker wall materials like drywall. Incorporating scrap wood into the mounting process not only reinforces the shelf’s durability but also showcases a practical and innovative approach to home improvement.
Wood Screws
Now, let’s dive into the significance of wood screws when securing our floating wood shelves to the wall. Wood screws play a crucial role in establishing a sturdy and long-lasting connection between the shelf and the wall. They are available in various sizes, allowing us to select the perfect length and thickness to match the materials of the shelf and the wall. By choosing the right size, we ensure the stability of our floating shelves, making them dependable for bearing weight.
To achieve optimal results, it is essential to always pre-drill pilot holes before inserting wood screws. This crucial step helps prevent the wood from splitting and ensures a secure fit. As creators, we can appreciate how wood screws offer a seamless and sophisticated solution for mounting shelves, seamlessly blending functionality with aesthetics.
Here’s a handy reference guide for us to consider:
| Screw Size | Ideal Application |
|---|---|
| #6 x 1′ | Perfect for light-duty shelves on drywall |
| #8 x 1.5′ | Ideal for medium-duty shelves on studs |
| #10 x 2′ | Suitable for heavy-duty shelves on studs |
| #12 x 2.5′ | Recommended for extra-heavy-duty applications on masonry |
| #14 x 3′ | Best for industrial use cases |
Saw Options
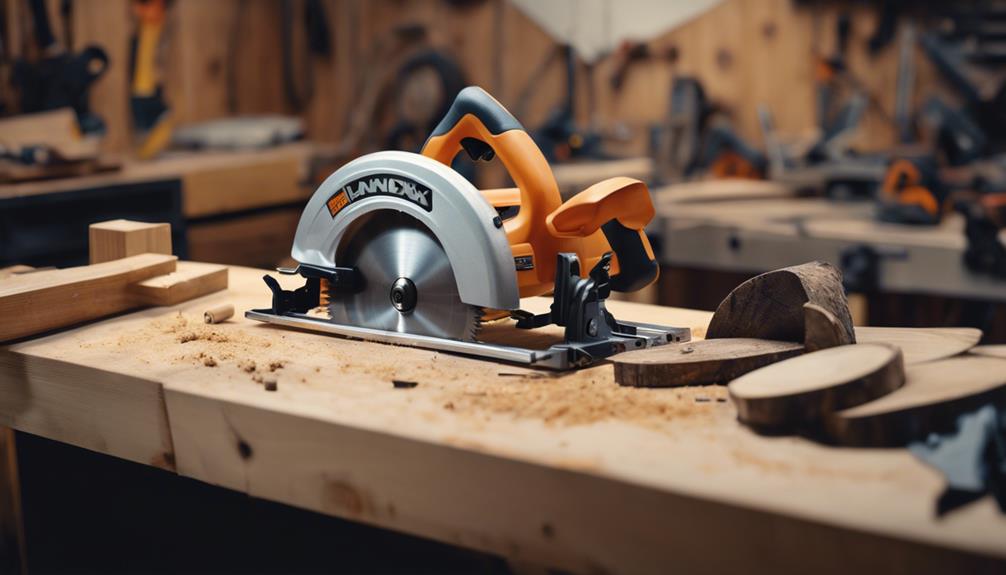
When it comes to our floating wood shelf project, choosing the right saw is crucial for accurate and efficient cuts. A circular saw is our top pick for cutting wood to size, offering versatility and ease of use. This tool is perfect for quick, straight cuts, ensuring our shelves fit perfectly against the wall.
If we need precise cuts, especially for larger pieces of wood, a table saw is unmatched in providing accuracy. It keeps the wood stable and ensures consistent cuts, making it ideal for those who value exact measurements and smooth edges.
For more intricate designs or curved cuts, a jigsaw is essential. Its versatility allows us to create unique and custom shapes that can add a touch of creativity to our floating shelves, making them stand out.
When angled cuts are necessary, a miter saw is the way to go. It’s perfect for creating corners or beveled edges, ensuring a professional finish that enhances the overall appearance and functionality of the shelf.
Power Drill
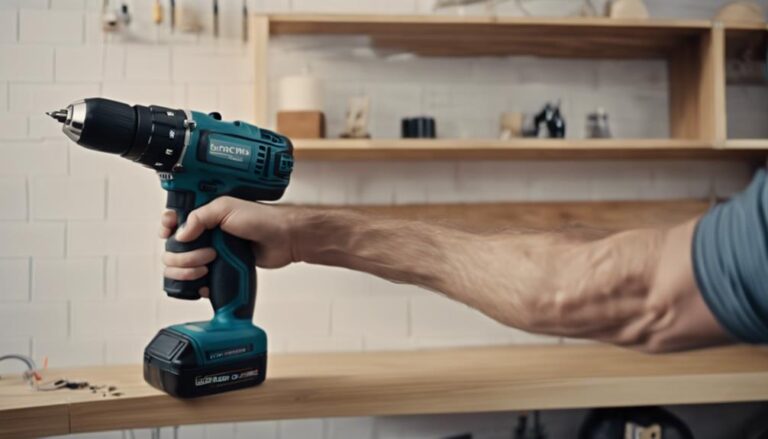
When setting up our floating timber shelf, a power drill is essential for boring holes and securing screws into the wall. This versatile tool provides the power required to drive screws deep into studs, ensuring a firm and steady installation. Let’s explore why a power drill is crucial for our project:
- Efficiency: A power drill significantly speeds up the installation process, saving us time and energy compared to manual screwdrivers.
- Precision: By using the appropriate drill bit, we can create exact holes that match the size of our screws, resulting in a neater and more polished final look.
- Portability: Cordless drills offer us the freedom to move around without being tied to an outlet, making the task more convenient and adaptable.
- Versatility: With various settings and attachments, a power drill can accommodate different materials and screw sizes, adjusting to our specific requirements.
For an audience that values innovation, the power drill shines as a tool that combines efficiency and adaptability. By ensuring we select the right drill bit for each task, we guarantee precise and dependable shelf mounting. This accuracy not only enhances the shelf’s appearance but also its durability, making the power drill an indispensable element in our toolkit.
Drill Bits
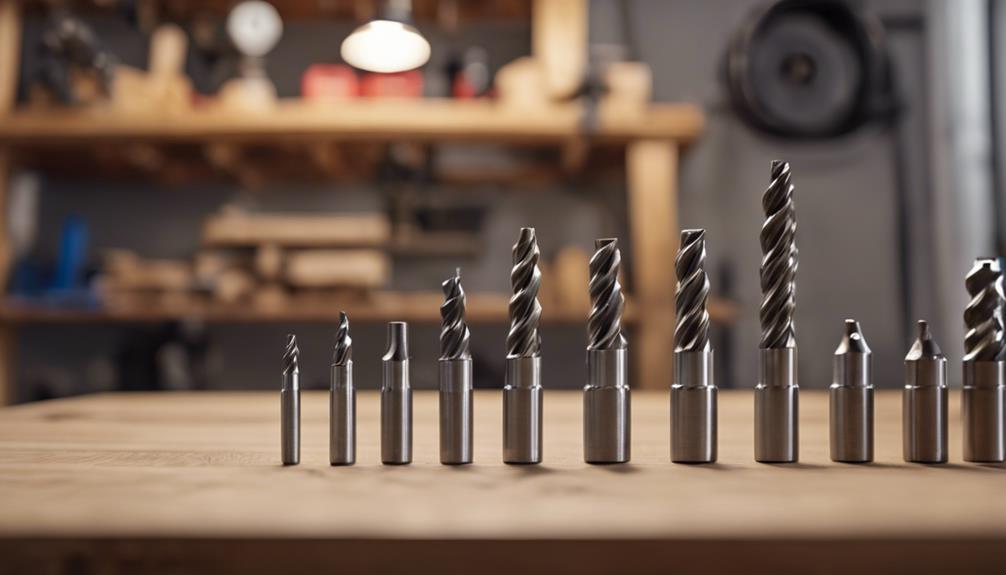
When dealing with drill bits for our floating wood shelf installation, it’s crucial to consider the types and sizes that will ensure a secure mount. Using the right drill bit size is essential for creating holes that perfectly accommodate the wall anchors and screws, providing stability for our shelf.
Let’s dive into the different drill bit types and sizes that are necessary for this project.
There are various types of drill bits that we can use for mounting our floating wood shelf. For this project, we’ll primarily need twist drill bits, which are versatile and commonly used for drilling into wood and other materials. Twist drill bits come in different sizes, ranging from small diameters for delicate work to larger sizes for heavier-duty tasks.
When it comes to drilling the holes for our shelf, we should choose the drill bit size that matches the diameter of the wall anchors we plan to use. This ensures a snug fit and proper support for our shelf once it’s mounted. It’s important to measure the diameter of the wall anchors accurately to select the right drill bit size for the job.
Drill Bit Types
Let’s delve into the various drill bits necessary for the installation of a floating wooden shelf. Understanding these drill bit types is crucial to ensure our shelf isn’t only secure but also visually appealing.
Each type serves a specific purpose when working with wood, streamlining the installation process.
First up are the Spade Drill Bits. These are vital for drilling large holes in wood, making them ideal for accommodating floating shelf brackets. With their flat, paddle-like design, they allow for quick and efficient hole creation.
Next, we’ve the Brad Point Drill Bits. These bits are renowned for their precision, minimizing tear-out and guaranteeing clean, accurate holes for our shelf brackets. Their sharp, pointed tips simplify alignment, ensuring a professional finish.
For flat-bottomed holes, especially for countersinking screws, the Forstner Drill Bits come into play. These bits are perfect for creating smooth, precise holes without causing any splintering in the wood, ensuring a clean and polished look.
Lastly, the Twist Drill Bits offer versatility and reliability for general drilling tasks during installation. Their helical design efficiently removes wood chips, preventing any potential clogs and ensuring a seamless installation process.
Proper Bit Sizes
Let’s focus on choosing the right sizes for our drill bits when mounting our floating wood shelf. Selecting the correct drill bit sizes is crucial for ensuring a strong and secure installation.
To begin, we’ll need a 1/8′ drill bit for creating pilot holes. These pilot holes are essential as they guide the screws and help prevent the wood from splitting.
For the main holes that will hold the screws for our shelf brackets, a 1/4′ drill bit is ideal. This size is perfect for accommodating the screws snugly, providing the necessary support for the shelf.
In situations where locating studs is challenging and we need to use anchors, a 1/2′ drill bit is necessary. This larger bit allows us to create holes large enough for the anchors, ensuring they can support the weight of the shelf and any items we intend to place on it.
Measuring Tape
When mounting a floating wood shelf, a measuring tape plays a crucial role in ensuring precise measurements and proper alignment. Without this tool, there’s a risk of misalignment, uneven spacing, and a less-than-professional finish. The measuring tape allows us to accurately measure the length and width of the shelf, as well as the distance between mounting points.
The importance of a measuring tape can be broken down into several key reasons:
- Accuracy in Measurements: It helps in determining the exact dimensions of the shelf and the wall space.
- Alignment Assurance: Using a measuring tape ensures that the shelf is perfectly aligned, avoiding any crooked appearance.
- Consistent Spacing: When installing multiple shelves, the measuring tape makes it easy to maintain consistent spacing for a neat and organized look.
- Error Reduction: Precise measurements reduce the chances of mistakes, resulting in a professional installation.
In the realm of floating wood shelf mounting, the measuring tape stands as a timeless essential tool that blends traditional craftsmanship with modern design. It may seem simple, yet it’s indispensable for achieving the ideal floating shelf installation.
Level
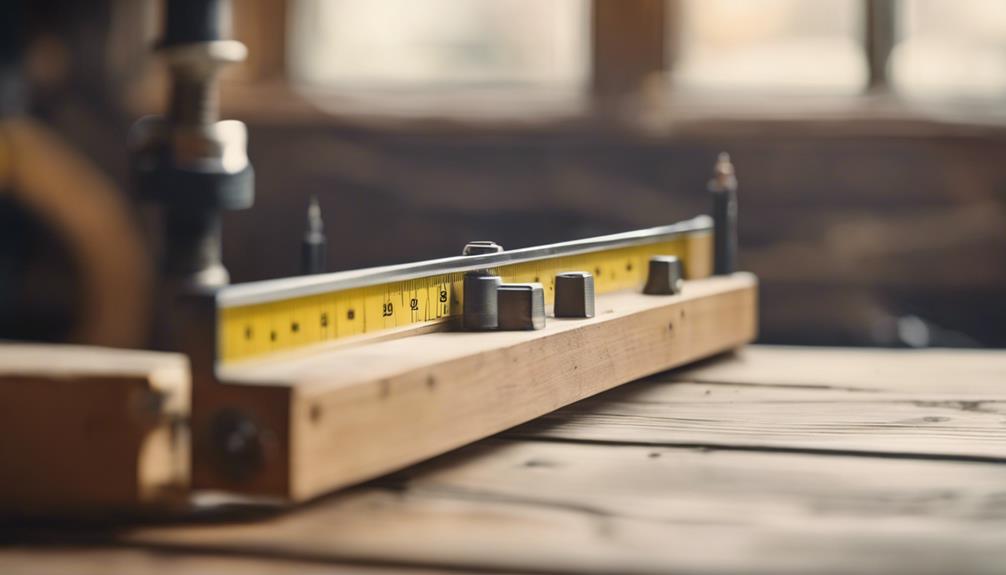
Having a level is crucial when installing a floating wood shelf to ensure it’s perfectly straight and well-balanced on the wall. Without a level, there’s a risk of mounting the shelf unevenly, leading to an unbalanced and visually unappealing look. This could also compromise the functionality of the shelf. To achieve the desired sleek and modern aesthetic, using a level is indispensable.
When we incorporate a level into the installation process, we aren’t just focusing on aesthetics; we’re also prioritizing the integrity and stability of the shelf. By using a level, we can identify even the smallest deviations, preventing potential issues that may arise from an uneven installation. This attention to detail ensures that the shelf can securely hold items without any concerns of slippage or instability.
Furthermore, utilizing a level demonstrates our dedication to achieving a professional and polished finish. Whether we’re mounting the shelf in a living room, kitchen, or office, the end result should showcase meticulous craftsmanship. By utilizing this tool, we enhance the entire installation process, seamlessly combining both functionality and elegance.
In essence, a level is an essential tool in our toolkit for a floating wood shelf installation. It elevates a simple project into a precise and refined endeavor, guaranteeing both beauty and durability in the final outcome.
Optional: Orbital Sander
Adding an orbital sander to your toolkit can significantly elevate the smoothness and overall finish of your floating wood shelf. For a sleek, polished appearance, this power tool is indispensable. It operates by rotating sandpaper discs in a circular motion, efficiently eliminating imperfections and creating a consistent texture.
Not only does it save time and effort compared to hand sanding, but it also ensures precision and efficiency, making it a valuable addition for those who prioritize quality craftsmanship.
Here’s why incorporating an orbital sander into our project could be beneficial:
- Professional Finish: Achieves a high-quality smoothness that surpasses manual sanding.
- Time-Efficient: Reduces the time needed to prepare the wood surface, allowing us to concentrate on other project aspects.
- Adaptability: Suitable not only for shelving but also for various DIY projects, furniture restoration, and woodworking tasks.
- User-Friendly: Simple to use, even for individuals new to power tools, delivering consistent results with minimal exertion.
The incorporation of an orbital sander can be a game-changer in achieving a flawless finish for our floating wood shelf.
Optional: Sandpaper
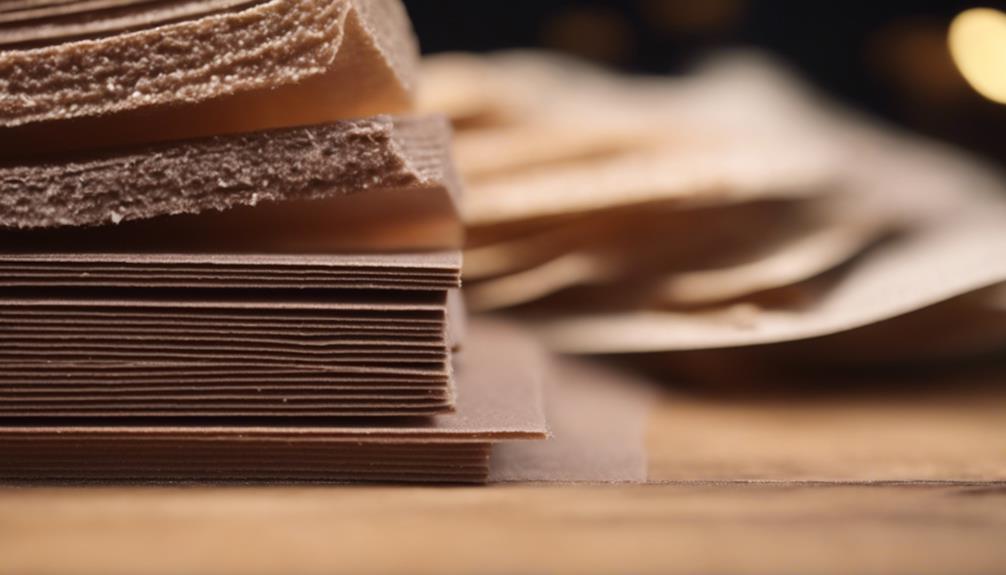
Achieving a smooth surface and perfect edge finishing for our floating wood shelf requires the use of sandpaper. This tool is invaluable for preparing the wood for staining, painting, or sealing by providing different levels of abrasiveness through various grits. Remember to always sand in the direction of the grain to achieve professional-looking results.
Sandpaper plays a crucial role in the installation process of a floating wood shelf. It helps in smoothing out imperfections and rough edges, ensuring a seamless and polished final look. By utilizing different grits, we can tailor the level of abrasion to suit the specific needs of the wood, ultimately leading to a well-prepped surface ready for finishing touches.
Smooth Surface Preparation
Preparing a smooth surface for your floating wood shelf is a crucial step that can greatly enhance its overall appearance. Sanding the wood is an optional but highly recommended process that can make a significant difference in the final outcome. By using sandpaper to eliminate rough patches and ensure a flawless finish, you can achieve a sleek, modern look or a charming rustic aesthetic.
Smooth surface preparation matters for several reasons when installing floating wood shelves:
- Enhanced Beauty: Sanding smooths out imperfections and allows the natural beauty of the wood to stand out, enhancing the overall aesthetics of your shelf.
- Improved Durability: A smooth surface ensures better adhesion for finishes and sealants, increasing the shelf’s longevity and resistance to wear and tear.
- Safety First: Sanding helps eliminate splinters and rough edges, making the shelf safer to handle and reducing the risk of injuries.
- Professional Appeal: Proper sanding gives the shelf a polished, high-quality appearance, giving it a professional and refined look in your space.
Selecting the right sandpaper for your wood shelf project is essential. Coarser grits (60-80) are suitable for initial sanding to remove rough surfaces, while finer grits (120-220) can be used for a smoother finish.
Taking the time to sand your floating wood shelf not only ensures a visually appealing result but also contributes to its structural integrity and long-term performance.
Edge Finishing Touches
When sanding the edges of your floating wood shelf, it’s crucial to pay attention to the finishing touches. Smoothing out rough edges not only enhances the appearance but also improves the tactile experience. Sandpaper plays a key role in this process, ensuring that the shelf not only looks good but is also safe to handle by removing any splinters or jagged areas.
Choosing the right grit of sandpaper is essential for achieving the desired level of smoothness. Coarser grits like 60-80 are perfect for initial rough sanding, especially if the edges are rough. Transitioning to a finer grit, such as 120-220, will provide a silky smooth finish, elevating the overall quality of the wood surface.
The act of sanding the edges adds a professional and polished touch to the floating wood shelf, showcasing a dedication to craftsmanship. While optional, this step significantly enhances the shelf’s durability and user-friendliness. By focusing on these small details, we ensure that our shelf not only looks great but also functions well.
Incorporating sandpaper into our toolkit demonstrates our commitment to excellence and innovation, transforming a simple wood shelf into a work of art that stands out in both appearance and performance.
Optional: Wood Sealer
Protect your floating wood shelf by considering the application of a wood sealer. Enhancing the natural beauty of the wood, a wood sealer acts as a crucial shield against moisture, stains, warping, and cracking. While not mandatory, applying a wood sealer is highly advisable to ensure the longevity and aesthetic appeal of your shelf.
Selecting a premium wood sealer suited to the specific type of wood used in your shelf is key to preserving its integrity. Sealing the wood before installation significantly extends the shelf’s lifespan, making it a worthwhile investment in both time and resources.
Here are the advantages of using a wood sealer:
- Moisture Protection: Guards against moisture absorption, reducing the risk of warping.
- Stain Resistance: Forms a protective barrier to prevent stains from penetrating the wood grain.
- Enhanced Appearance: Accentuates the natural grain and color of the wood, amplifying its visual appeal.
- Damage Prevention: Safeguards against everyday wear and tear, maintaining the shelf’s pristine appearance.
Optional: Brush

When embarking on the process of installing sleek and elegant floating shelves, it’s vital to ensure a smooth and controlled application of wood sealers or finishes on your floating wood shelf. Selecting the right brush guarantees that the sealer or finish is evenly distributed, preventing any unsightly streaks or patches that could detract from the final appearance. The brush provides the finesse and precision that’s challenging to achieve through other means.
Brushes are available in a variety of sizes and materials, such as synthetic and natural fibers, each offering distinct advantages depending on the type of sealer or finish being used. For intricate designs or smaller floating shelves, a smaller brush offers accuracy, while larger brushes are efficient for covering larger surfaces.
Keeping the brush clean and in good condition is crucial; a dirty or worn-out brush can introduce flaws, compromising the overall result. Investing in a high-quality brush is a wise decision for those who appreciate innovation and craftsmanship in their floating shelf installations. By utilizing the appropriate tool, we enhance not only the functionality but also the visual appeal of our floating shelves, creating pieces that are both practical and aesthetically pleasing.
Optional: Tack-Cloth
For a flawless mounting surface for our floating wood shelf, we can utilize tack-cloth to effectively eliminate dust particles. This adhesive cloth efficiently captures dirt, leaving behind a pristine surface without any residue.
While not necessary, incorporating tack-cloth can significantly elevate the professional appearance of our project.
Removing Dust Particles
To achieve a flawless and professional finish when installing your floating wood shelf, it’s crucial to eliminate any dust particles from the surface. Dust removal plays a significant role in ensuring a smooth and polished outcome, whether you’re preparing the wood for mounting the shelf or getting ready for painting. The tool we rely on for this task is the tack-cloth. This specialized cloth, typically crafted from cheesecloth and coated with a sticky resin, effectively attracts and traps dust particles.
The utilization of a tack-cloth is a game-changer for several reasons:
- Efficiency: The tack-cloth swiftly captures even the tiniest dust particles, guaranteeing a spotless surface.
- Versatility: Widely embraced in woodworking and automotive sectors, it’s ideal for pre-paint and pre-stain preparations.
- Finish Quality: By eliminating dust, the tack-cloth aids in achieving a pristine and seamless surface, crucial for optimal paint or stain adhesion.
- Prevention: It serves as a shield against dust particles that could mar the final finish, ensuring a refined and professional appearance.
Incorporating the use of a tack-cloth into our preparation process not only enhances the overall quality of our work but also contributes to the durability and longevity of the finished product. Let’s embrace this innovative tool to elevate the installation of our floating wood shelf.
Preparing Clean Surface
Ensuring a clean and debris-free surface is crucial for optimal adhesion of the shelf brackets during the installation process. This step is essential for the stability and aesthetics of our floating wood shelf.
To achieve a pristine surface, using a tack-cloth is highly recommended. This specialized cloth is designed to eliminate even the smallest particles of dust and debris that regular cloths may overlook. By carefully wiping down the area with a tack-cloth, we enhance the adherence of the brackets and contribute to the overall longevity and appearance of the shelf.
While the use of a tack-cloth isn’t mandatory, it’s a recommended step to achieve a professional finish. By eliminating any potential particles that could interfere with the installation, we ensure the stability of our floating shelf.
This simple yet effective preparation method can significantly impact the durability and visual appeal of our installation. By embracing meticulous preparation practices, we demonstrate our dedication to quality and innovation, guaranteeing that our floating wood shelf will endure the test of time.
Frequently Asked Questions
What Do You Need to Install Floating Shelves?
When installing floating wood shelves, it’s essential to focus on preparing the wall properly. You will need tools such as a stud finder, power drill, level, measuring tape, screws, and brackets to ensure a secure and aesthetically pleasing display for your space.
Start by using a stud finder to locate the studs in the wall. This step is crucial to ensure that your shelves can support the weight of the items you plan to display. Once you have located the studs, use a power drill to attach the brackets securely to the wall.
Next, use a level to make sure the brackets are perfectly aligned before attaching the shelves. This will help prevent any unevenness or tilting once the shelves are in place. Measure the distance between the brackets accurately to ensure that the shelves fit correctly.
Finally, use screws to attach the shelves to the brackets securely. Make sure to follow the manufacturer’s instructions for the specific type of shelves you are installing. Once the shelves are in place, double-check that they are level and securely attached to the wall.
What Hardware Do You Need for a Floating Shelf?
Let’s delve into the essential components for mounting floating shelves: the brackets. Opt for sturdy hidden or decorative brackets, high-quality screws, and reliable anchors. Your selection of hardware is crucial to ensure your modern shelf design appears to effortlessly float while providing sturdy support.
To install floating shelves successfully, consider the weight capacity of your chosen brackets, the material of the screws, and the durability of the anchors. These factors play a vital role in the overall stability and longevity of your floating wood shelves.
When selecting hardware for your floating wood shelf installation, prioritize functionality and reliability. Invest in brackets that blend seamlessly with your shelf design while offering robust support. Additionally, ensure that the screws and anchors are compatible with your wall type to prevent any potential issues down the line.
What Bolts to Use for Floating Shelves?
When installing floating wood shelves, it’s essential to choose the right bolts for optimal support. For heavy-duty applications, consider using lag bolts, which provide sturdy support for heavier items on the shelves. Lag bolts are strong and durable, making them ideal for securing shelves that will hold significant weight.
If you have hollow walls, toggle bolts are a great choice for mounting floating shelves. Toggle bolts are designed to anchor securely in hollow walls, providing stability and support for your shelves. They are easy to install and can hold a decent amount of weight, making them suitable for medium-weight shelves.
For medium-weight shelves, molly bolts are another option to consider. Molly bolts offer reliable support for shelves that will hold lighter items or decorations. They are easy to install and provide adequate strength for smaller shelves.
Always refer to weight capacity guidelines when choosing bolts for your floating wood shelves to ensure they can support the items you plan to display. By selecting the appropriate bolts for your project, you can ensure the stability and durability of your floating shelves.
How Do You Mount a Piece of Wood as a Floating Shelf?
Why not challenge the laws of physics and impress our ancestors? Let’s pinpoint the studs, drill precise pilot holes, and ensure the wall is properly prepared with anchors if necessary. Using a level for accuracy, we will securely attach the wood, creating a cutting-edge floating shelf installation that defies conventional methods.
Conclusion
With the essential tools in hand – wood for the shelf, floating shelf brackets, scrap wood, and wood screws – we’re well-prepared to mount a floating wood shelf with precision. Opting for a saw that ensures clean cuts, utilizing sandpaper for a polished finish, and applying a wood sealer for longevity, we guarantee that our shelf will withstand the test of time.
Let’s elevate our walls with functional artistry, merging skill with craftsmanship. At each step, we aren’t just creating a shelf, but affirming our expertise.
Mounting a floating wood shelf requires attention to detail and the right tools. Ensuring that the shelf is level and securely attached is crucial for both safety and aesthetics. By following a systematic approach and utilizing the proper equipment, we can create a visually pleasing and sturdy shelf that enhances the overall ambiance of the room.
Let’s embark on this project with confidence, knowing that our efforts will result in a practical and visually appealing addition to our living space.

