How to Locate Studs for Installing a Floating Wood Shelf
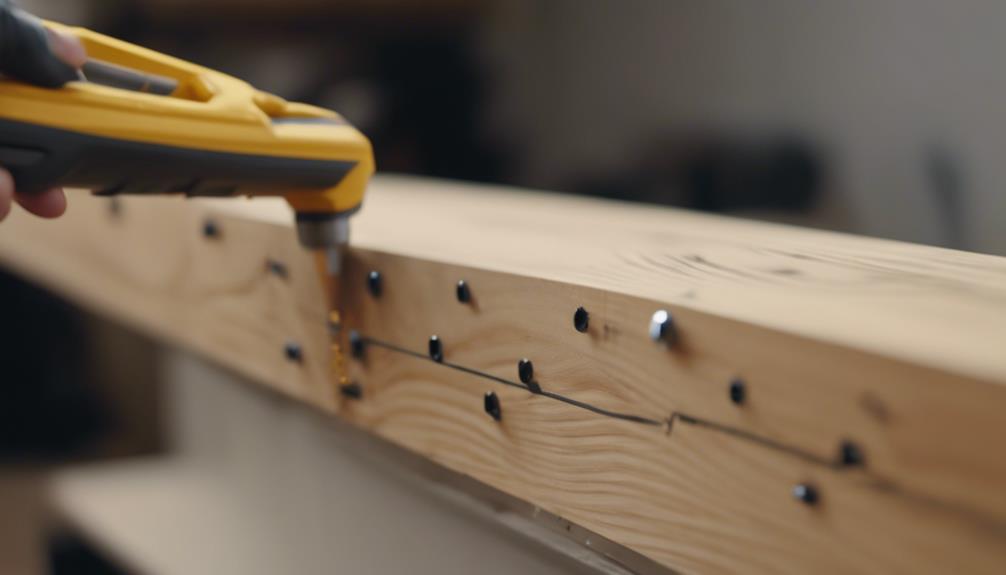
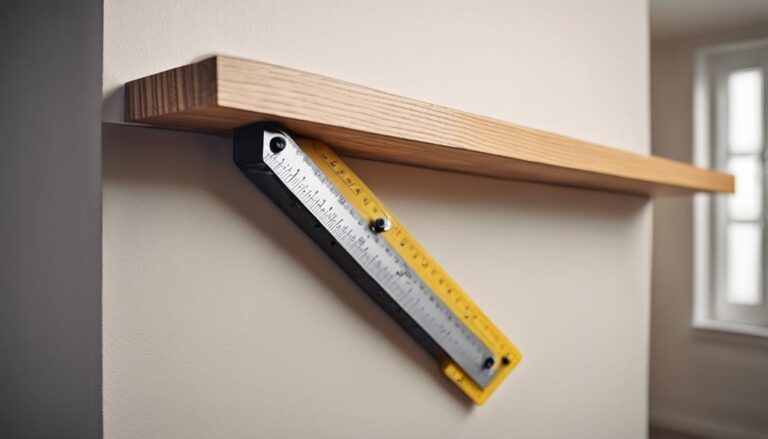
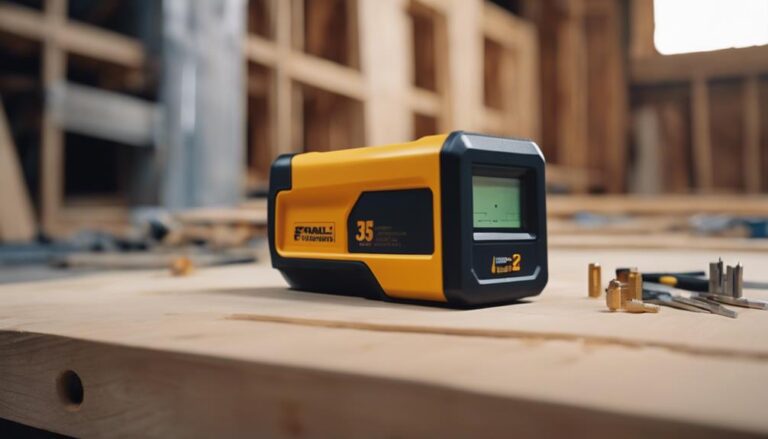
When installing a floating wood shelf securely, the first step is to locate the wall studs using a reliable stud finder. By slowly moving the stud finder across the wall, we can detect changes in density that indicate the presence of a stud.
Once the studs are located, it's important to mark their edges with a pencil to outline the mounting area. Measuring the distance between studs will help us position the shelf directly over them to ensure maximum support. If necessary, we can reinforce the wall or studs before installation to enhance stability and longevity.
By following these steps and techniques, we can confidently mount the floating wood shelf safely and effectively.
If you want more detailed information on the process, keep reading to learn about specific strategies for successful installation.
Key Takeaways
To ensure a sturdy and secure installation of your floating wood shelf, it is crucial to accurately locate the wooden studs in your wall. A reliable high-quality stud finder is the best tool for this task. By scanning the entire wall area, you can pinpoint the exact positions of the studs and mark them for the shelf placement.
Measuring the distance between the studs is essential to ensure that the shelf is centered over the structural supports. This step not only helps with proper alignment but also maximizes the weight-bearing capacity of the shelf. Additionally, reinforcing the wall or studs with plywood or metal brackets can provide added stability, especially if you plan to place heavy items on the shelf.
Once you have identified the studs and confirmed the measurements, it is time to secure the shelf directly into the studs using screws. This direct attachment method is key to ensuring that the shelf is firmly anchored and can safely support the weight of your items. By following these steps and utilizing the right tools, you can enjoy a well-installed floating wood shelf that not only looks great but also functions effectively in your space.
Preparing for Stud Locating
To securely mount a floating wood shelf, we must first locate the wall studs using essential tools like a stud finder, tape measure, and pencil. By identifying the stud positions, we can ensure the shelf is installed safely and securely.
Begin by using the stud finder to detect the vertical wooden supports hidden within the walls. Slowly move the stud finder along the surface, marking the edges of each stud with a pencil.
Then, use the tape measure to accurately measure the distance between each marked stud. These measurements will help us position the shelf hangers directly onto the studs for optimal support.
Using a Stud Finder
When it comes to installing floating wood shelves, using a stud finder is crucial for finding the sturdy wooden studs within your walls.
To begin, turn on the stud finder and glide it slowly across the wall's surface. As the device detects a change in density, it signifies the presence of a stud, ensuring a secure mounting point for your shelves.
Some advanced stud finders go beyond just locating studs; they can also indicate the width of the stud. This feature is particularly useful for precise shelf placement, ensuring that your shelves are securely anchored to the wall.
With this tool, the process of finding and marking the studs becomes effortless, making your floating wood shelf installation a breeze.
Selecting Stud Finder
In the realm of installing a floating wood shelf, selecting the right stud finder is pivotal. The accuracy of stud detection is paramount for ensuring a secure and robust mounting for your shelf.
When it comes to stud finders, there's a wide range of options to consider. From basic models that detect changes in density to more advanced versions that can map out the entire width of a stud, the choices are abundant.
It's advisable to choose a stud finder that not only locates the stud accurately but also offers visual and auditory cues to assist you throughout the process. Look out for features such as LED lights or audio signals that become more pronounced as you approach a stud.
Some premium stud finders even possess the ability to detect live wires, providing an added layer of safety during your installation. Although prices may vary, investing in a reliable and feature-rich stud finder can greatly impact the success of your floating wood shelf project.
Proper Stud Locating
To begin, we run the stud finder slowly along the wall, ensuring it remains flat and parallel to the floor. The stud finder will alert us with visual or audible signals when it detects a change in density, indicating the presence of a stud. This method helps us accurately mark the wall for installing our floating wood shelf.
Advanced stud finders offer additional features such as the ability to detect live wires or provide laser guidance to pinpoint the edges of the stud. This ensures that we steer clear of any electrical hazards and mount the shelf with precision.
For optimal results, it's recommended to scan the entire wall area where the shelf will be placed, marking each stud location. This approach gives us flexibility in positioning the shelf supports for efficient weight distribution.
Thanks to the stud finder's capability to detect the full width of the wall stud, we can easily center the shelf directly over the structural support, ensuring stability and balance.
Accurate Measurement
Having marked the stud locations, it's time to take precise measurements for our floating wood shelf. Utilizing the top-rated stud finder available at Home Depot, we can accurately determine the full width of each stud, guaranteeing our measurements are exact.
This electronic device, unlike traditional methods like wall tapping or visual estimation, reliably identifies density changes, providing us with the dependable data necessary for planning our shelf installation.
Accurate measurement plays a crucial role in securely hanging a floating wood shelf. By utilizing the stud finder to pinpoint the positions, we can mark the precise locations for attaching our hardware. This meticulous approach not only prevents wall damage but also ensures the creation of a sturdy, level shelf capable of supporting substantial weight.
With the stud positions clearly marked and our measurements recorded, we're one step closer to crafting a stylish and functional floating wood shelf that seamlessly complements our home decor.
Identifying Stud Edges
To ensure that our floating wood shelf is securely installed, we must first locate and identify the edges of the studs hidden behind the drywall. Using a stud finder is the most efficient way to pinpoint the precise edges of the wooden supports. This step is crucial for mounting the shelf directly onto the studs, providing optimal support and stability.
Run the stud finder carefully along the wall, making note of where it detects the stud edges. Mark vertical lines at these points with a pencil, creating clear guidelines for positioning the shelf.
Measure the distance from the left shelf line to the center of each stud to accurately place the keyhole hangers for maximum support.
Marking Stud Locations
Now that we've pinpointed the edges of the studs with a stud finder, it's time to mark the stud locations accurately.
Let's use tape to show where the shelf will begin and end, making sure not to mark directly on the walls.
It's crucial to measure the distance between studs precisely to position the shelf correctly during installation.
Locate Stud Markers
Locating and marking the positions of wall studs is a crucial first step in securely installing a floating wooden shelf. By employing a reliable stud finder, we can efficiently and accurately pinpoint the exact locations of the sturdy wooden supports concealed within the walls.
Once the studs are identified, marking their edges with discreet vertical lines becomes essential for a clear visual guide when positioning the shelf.
Using a stud finder ensures precise and efficient identification of stud locations, streamlining the installation process. By marking the edges of each stud with vertical lines, we create unobtrusive reference points for aligning the shelf securely.
Additionally, measuring and marking the beginning and end points of the shelf to align directly with the studs enhances the overall stability and support of the shelf.
To maintain a clean and organized workspace, it's advisable to refrain from making direct marks on the walls during the stud-finding and marking process. This approach simplifies the cleanup after the installation is completed, leaving behind a neat and professional finish.
Visual Stud Identification
Now that we've successfully located the studs using a reliable stud finder, it's time to mark their positions for the shelf installation.
We'll start by using tape to indicate where the shelf will be placed, ensuring we avoid making direct markings on the wall. This method provides us with clear visual references as we proceed.
Following this, we'll measure the distance between the studs to ensure precise alignment when mounting the shelf.
To clearly identify the edges of the studs, we'll draw vertical lines connecting the tape markings. This visual guide will make it easy to pinpoint the exact locations of the studs, enabling us to position the keyhole hangers accurately for a secure installation.
Taking the extra step to visually confirm the stud positions will give us the assurance that the shelf will be securely and safely mounted.
Considerations for Stud Positioning
Proper stud positioning plays a crucial role in ensuring the stability and security of floating wood shelves. These vertical structural components serve as the primary support for the shelves, preventing them from detaching from the wall. Understanding the precise location of the studs is essential for a successful shelf installation.
One key consideration is stud spacing, which is typically set at 16 inches apart. However, variations can occur depending on the home's construction. Identifying the exact stud positions is vital for securely anchoring the floating shelves and distributing the weight evenly.
Studs provide robust wall reinforcement as they're firmly attached to the wall's framing. By mounting the shelves directly onto the studs, you can maximize stability and minimize the risk of shelves coming loose over time.
Before installing the floating shelves, marking the stud positions on the wall is necessary for accurate placement. This step ensures that the shelves are aligned correctly and fully supported by the underlying studs, enhancing both the aesthetic appeal and functionality of the shelving system.
Utilizing a stud finder is a practical tool for precisely locating the studs. This technique is indispensable for the successful and secure mounting of floating wood shelves, as it helps to avoid potential errors in stud identification and ensures a reliable installation process.
Reinforcing the Wall or Studs
When installing heavier floating wood shelves, it's essential to reinforce the wall or studs for added support. This extra reinforcement ensures the shelves can bear the weight and remain securely in place.
To reinforce the wall, you can consider using plywood or metal brackets. Plywood helps distribute weight evenly, while metal brackets offer extreme sturdiness and durability. However, keep in mind that plywood may require additional finishing, and metal brackets can be more visually intrusive.
If your wall studs aren't in the ideal position for shelf placement, installing blocking between the studs can create a solid anchor point for mounting. Cleats, brackets, or brackets with rods can also provide extra reinforcement for the shelves.
Wall anchors are another option to secure floating shelves in drywall without studs, but it's crucial to ensure proper installation for safety reasons.
If you're unsure about the structural integrity of the wall or studs, it's best to seek professional advice. Proper reinforcement will guarantee that your floating wood shelves remain stable and secure for years to come.
Securing the Shelf to Studs
After reinforcing the wall, we'll use a stud finder to locate the sturdy studs where we can securely mount the floating wood shelf. By marking the stud locations precisely along the wall, we ensure that the shelf will have strong anchor points to attach to, preventing any sagging or detachment over time.
With the stud positions identified, we've a few options for securing the shelf effectively:
- We can screw the shelf directly into the studs using heavy-duty wood screws, providing maximum strength and stability.
- Another method is to install a cleat system by affixing a robust wooden cleat to the wall and then mounting the shelf onto the cleat for added support.
- Specialty shelf brackets designed to grasp the studs can also be utilized to create a solid connection point for the shelf.
- For extra security, we can combine multiple attachment methods, such as screws into studs and additional brackets, to ensure a strong and stable setup.
Ensuring Stability and Durability
To ensure the lasting stability and maximum durability of our floating wood shelf, it's crucial to accurately pinpoint the stud locations before installation. Utilizing a high-quality stud finder is the most reliable method to identify the hidden wood beams within the wall, providing a solid foundation for the shelf mounts to support the weight of stored items.
When installing floating shelves onto wall studs, several key factors should be considered:
- Precise Measurements: Taking accurate measurements allows for the ideal placement of shelf mounts, ensuring a secure attachment to the studs.
- Sturdy Wall Anchors: Using robust wall anchors helps prevent sagging or separation of the shelf over time, maintaining its stability.
- Evenly Distributed Weight: Distributing the weight of items evenly across the shelf helps to preserve its structural integrity and prevents damage to the wall.
Accurately locating the studs not only enhances the appearance and functionality of the shelf but also safeguards the surrounding walls from potential harm.
Frequently Asked Questions
Do You Need to Find Studs for Floating Shelves?
Yes, it's crucial to locate studs when installing floating shelves. Finding the studs ensures that the shelves are securely anchored to the wall, providing proper spacing and depth for stability. This is essential for preventing any potential collapse and maintaining the integrity of our innovative home design.
Studs are vertical framing members within the wall that provide structural support. By attaching the floating shelves to the studs, we can distribute the weight evenly and minimize the risk of the shelves pulling away from the wall. This not only enhances the aesthetic appeal of the shelves but also ensures their functionality and longevity.
To locate studs, you can use a stud finder, a handheld device that detects changes in density behind the wall. Simply run the stud finder along the wall until it indicates the presence of a stud. Once you've found the studs, mark their locations and use them as reference points for installing the floating shelves.
How Do You Know Where to Put Floating Shelves?
To ensure the optimal support for our floating wooden shelves, it is crucial to determine the type of wall material and attach the shelf brackets securely into the studs. This step is essential in ensuring that our shelves can bear the weight of heavy decorations without any risk of sagging.
When it comes to installing floating wood shelves, finding the studs in the wall is key. Studs are vertical framing members within the wall that provide solid support for heavy objects. By attaching the shelf brackets directly into the studs, we can distribute the weight evenly and prevent any potential damage to the wall.
Using a stud finder is a simple and effective way to locate studs behind the wall. These devices work by detecting changes in density behind the drywall, indicating the presence of a stud. Once the studs are located, mark their positions and align the shelf brackets accordingly for a secure installation.
How Do You Locate Wood Studs?
We rely on studfinders and knocking techniques to accurately locate wood studs for installing our stylish floating wood shelves. These dependable stud detection tools help us pinpoint the ideal spots to securely anchor our innovative shelving units.
Studfinders are electronic devices that detect changes in density behind walls, helping us identify the presence of wood studs with precision. By running the studfinder along the wall, we can easily locate the studs and mark their positions for mounting the shelves securely.
In addition to using studfinders, we also rely on the traditional method of knocking on the wall to listen for changes in sound that indicate the presence of a stud. This hands-on approach allows us to confirm the locations of wood studs before installing our floating shelves, ensuring a sturdy and reliable mounting solution.
How to Put up Floating Shelves Without Studs?
Want to put up floating shelves without having to find studs in your walls? No problem! By using wall anchors and relying on the strength of your drywall, you can easily install floating shelves with ease. This method provides a versatile and convenient solution for those looking to get creative with their storage options beyond the limitations of stud placement.
Traditional methods of installing shelves often require finding studs in the wall for support. However, with the use of wall anchors, you can securely attach your floating shelves to the drywall without the need for studs. Wall anchors are designed to distribute weight evenly and provide a sturdy support system for your shelves, making them a reliable alternative to traditional stud-based installations.
Conclusion
Now that we've covered the essentials of stud locating, you're well-equipped to tackle the installation of your floating wood shelf. Remember, precision is crucial to ensure a stable and durable setup. Don't risk your carefully arranged shelf display tumbling down unexpectedly!
By diligently implementing these effective techniques, you'll soon have a flawless floating shelf adorning your wall.
When it comes to finding studs for your floating wood shelf, utilizing a stud finder is a reliable method. Stud finders are designed to detect the dense wooden beams behind your wall, providing you with accurate guidance for secure installation. By following the stud finder's indications, you can confidently anchor your shelf to ensure it can support your decorative items without any concerns.
Another practical approach to locating studs is the traditional tapping method. By lightly tapping along the wall and listening for a solid, rather than hollow, sound, you can identify the presence of a stud. This straightforward technique, though simple, can be surprisingly effective in pinpointing the ideal spots for mounting your floating wood shelf securely.
In summary, mastering the art of stud finding is the key to a successful floating wood shelf installation. Whether you opt for a stud finder or rely on the trusty tapping method, ensuring your shelf is firmly anchored to sturdy support will guarantee a safe and stylish display.
With these strategies in mind, you're ready to embark on your shelf installation project with confidence and precision.

