Mastering the Art of Stud Finding for Floating Wood Shelf Installation
Finding wall studs is essential for securely installing a floating wood shelf. A stud finder, power drill, measuring tape, and level are the tools needed to locate studs accurately. Knowing the composition of your walls and using techniques like tapping and visual inspection will help you find studs with precision.
When marking the stud locations, make sure to align the center of the bracket with the centerline of the shelf. Securing the bracket into the stud will ensure a strong and stable attachment for your shelf. Following the manufacturer's instructions and evenly distributing the weight across the brackets will help maintain long-lasting stability.
For more advanced tips on installing shelves, continue exploring our comprehensive guide.
Key Takeaways
- When installing floating wood shelves, it is essential to rely on a high-quality stud finder to accurately pinpoint the solid wood framework within the wall. This ensures a secure attachment of the shelf brackets to the studs for maximum stability.
- To effectively locate studs, it is important to have a good understanding of the wall composition and to explore different stud detection techniques. By doing so, you can ensure precise identification of the studs and avoid any potential issues during installation.
- Once the studs are located, it is crucial to mark their positions accurately and align the center of the shelf bracket with the center of the stud. This alignment is key to distributing the weight of the shelf evenly across the secured brackets, providing optimal support for the shelf.
- In addition to aligning the brackets with the studs, it is advisable to follow the manufacturer's guidelines for proper installation. This includes using the recommended hardware and ensuring that the brackets are securely attached to the studs.
- For added reinforcement and increased load-bearing capacity, consider implementing additional measures such as anchors. These will further enhance the stability of the floating wood shelf and provide extra support for heavier items placed on the shelf.
Importance of Stud Finding
Properly locating the studs within your walls is crucial when installing a floating wood shelf. Without this foundational step, the shelf's stability and weight-bearing capacity are compromised, putting both the shelf and your walls at risk of damage. Stud finding is essential to ensure a secure installation and prevent any potential wall damage. The significance of this task can't be overstated.
Using a reliable stud finder allows us to accurately pinpoint the solid wood framework within the walls. This knowledge provides us with the necessary anchor points to securely mount the floating wood shelf, distributing the weight evenly and reducing the risk of collapse or damage. Typically spaced 16 or 24 inches apart, studs offer a clear guideline for where to focus our installation efforts.
While locating studs may seem like a tedious task, it's a fundamental step that yields long-term benefits. By employing an effective stud finding strategy, we can confidently install a floating wood shelf that not only enhances the aesthetics of the space but also offers durable and dependable support.
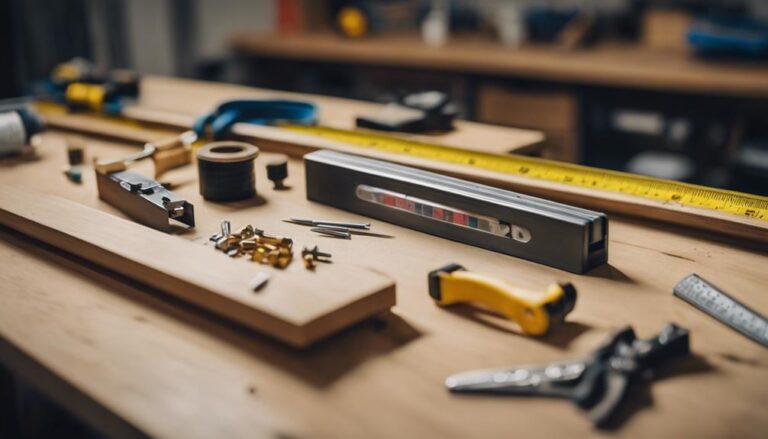
Tools for Successful Installation
When installing a floating wood shelf, it's crucial to have the right tools at your disposal. One essential tool is a dependable stud finder, which helps locate the wall studs behind the drywall accurately. This step is vital for a secure installation, as the shelf brackets need to be anchored into the sturdy wood of the studs, not just the drywall.
Another necessary tool is a power drill with a Phillips bit, which is used for drilling into the studs and securing the bracket hardware firmly. Additionally, a measuring tape and a level are indispensable for marking the correct placement and ensuring that the shelf is perfectly aligned during installation.
Make sure to have these tools ready before starting the installation process:
- Stud finder
- Power drill with Phillips bit
- Measuring tape
- Level
Having these tools on hand will help you achieve a successful and sturdy installation of your floating wood shelf.
Locating Studs on the Wall
Starting the installation of floating wood shelves requires us to accurately locate the wall studs to ensure a secure and professional outcome. Understanding the composition of the wall is crucial, as it will help us effectively use stud detectors to pinpoint the ideal placement for our floating shelves. By mastering these techniques, we can guarantee a sturdy and visually appealing final product that meets the highest standards of craftsmanship.
When it comes to identifying wall studs, it's important to know that they're vertical framing members within the wall that provide support for the structure. Stud finders are essential tools that use sensors to detect density changes in the wall, indicating the presence of a stud. By slowly moving the stud finder along the wall and paying attention to the signals it gives, we can accurately locate the studs and mark their positions for shelf installation.
It's worth noting that stud finders come in different types, such as magnetic, electronic, and even advanced models that offer additional features like deep scanning. Choosing the right stud finder for the job will depend on the thickness and composition of the wall, so it's important to select a reliable and accurate tool to ensure precise stud detection. By investing in a quality stud finder and following the manufacturer's instructions, we can streamline the process of locating studs and proceed with confidence in our shelf installation project.
Identify Wall Composition
To begin the process of installing our floating wood shelf, we need to utilize a stud finder to locate the studs hidden behind the drywall or plaster. By detecting these sturdy support beams, we can ensure a stable and secure mounting for the shelf.
One helpful tip is to look for visual indicators such as electrical outlets, light switches, or baseboards, as these are often positioned near studs. Additionally, lightly tapping on the wall can help us distinguish between a solid sound indicating a stud and a hollow sound in the spaces between studs.
Once we've pinpointed a stud, we can take advantage of the typical spacing pattern of studs, which are usually placed either 16 or 24 inches apart. This spacing allows us to estimate the location of adjacent studs with relative accuracy. It's also important to remember that studs are generally 1.5 inches wide, providing a consistent measurement for locating multiple studs in a row for our shelf installation.
Utilize Stud Detectors
Stud finders are essential tools for locating hidden support beams in walls when installing a floating wood shelf. These devices use electronic sensors to detect density changes behind the wall surface, indicating the presence of sturdy wooden studs.
Some advanced stud finders can even detect live electrical wires and metal objects in the wall, providing a comprehensive understanding of the wall's composition.
Calibrating the stud finder before each use ensures accurate readings, helping us identify the best locations to securely mount our shelf. By drilling directly into the studs, we can trust that our floating wood shelf will be firmly anchored and able to support the weight of our decor and display pieces.
The visual and audible cues from the stud detector guide us throughout the installation process, making it seamless and worry-free.
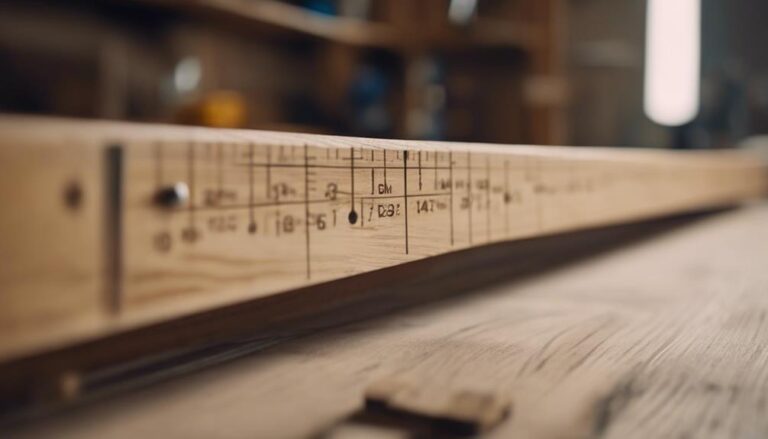
Marking Stud Locations Precisely
Accurately marking the location of studs is crucial for a secure floating wood shelf installation. This step ensures that your shelf is properly supported and can hold the weight of your items without any issues.
To master this process, there are four key steps to follow:
- Use a reliable stud finder to precisely locate each stud on the wall.
- Mark the left and right boundaries of each stud clearly to serve as reference points for shelf placement.
- Double-check your markings to ensure accuracy and alignment, avoiding costly mistakes later on.
- Mark the left and right ends of the shelf on the wall to align perfectly with the studs underneath.
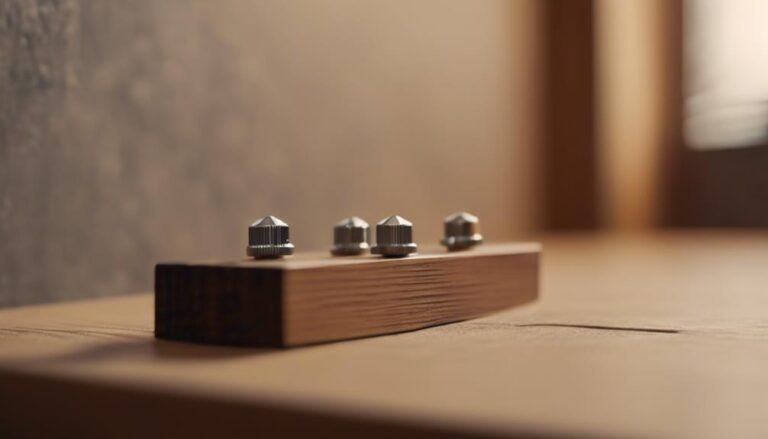
Securing the Bracket Correctly
With the stud locations marked, it's crucial to align the center of the bracket perfectly with the centerline of your floating wood shelf. This alignment is key to ensuring optimal support and stability for your shelf.
Grab your power drill and start securing the bracket into the stud for a strong attachment. Once the bracket is in place, double-check its level before fastening the remaining screws into the stud. This extra step guarantees a secure and professional installation.
Securing the bracket correctly is essential for the stability and longevity of your floating wood shelf. Make sure to follow these steps diligently to ensure a sturdy and reliable installation.
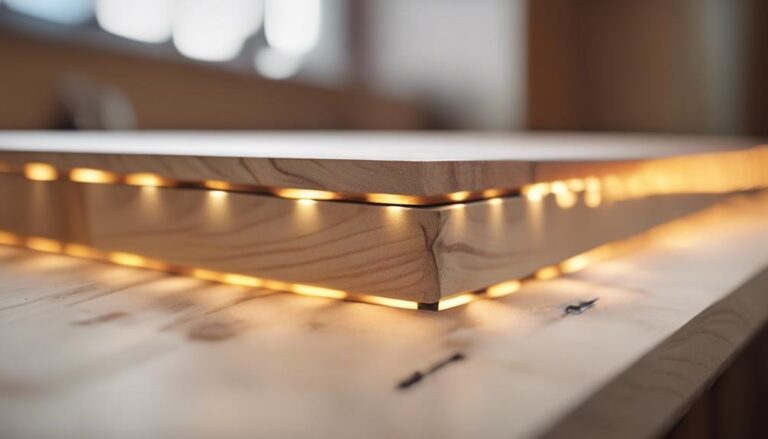
Attaching the Floating Shelf
After securely attaching the bracket, gently slide the floating wood shelf onto the installed hardware for a stable connection. Ensure the shelf is level and centered as you carefully position it, avoiding any unnecessary force. The bracket will provide the essential support needed for the shelf to hold items securely in place.
Consider these important factors as you attach the floating shelf:
- Weight Capacity: The maximum weight the shelf can hold depends on the bracket and installation method used. It's crucial to be aware of the load capacity to prevent any accidents.
- Aesthetic Appeal: Enjoy the sleek, floating look of the shelf that will enhance the visual appeal of your space.
- Convenience: The securely mounted floating shelf offers a practical and stylish storage solution, making it easy for you to display and access your items.
- Stability: With the bracket firmly fixed, you can have peace of mind knowing that the shelf is securely attached and will remain stable, even when loaded with items.
Frequently Asked Questions
Do You Need to Find Studs for Floating Shelves?
Finding studs for floating shelves is crucial for a secure installation. Sturdy wall anchors are essential to support the weight of the shelf and items placed on it. Studs provide the necessary structural support to ensure that the shelf remains stable and safe.
When installing floating shelves, locating the studs in the wall is the first step to a successful installation. Studs are vertical wooden or metal beams behind the drywall that provide a strong foundation for hanging shelves, cabinets, and other heavy items. By securing the shelf to the studs, you can distribute the weight evenly and prevent the shelf from sagging or pulling away from the wall.
Using a stud finder is a reliable and efficient method to locate studs in the wall. These tools use electronic sensors to detect the density changes behind the wall, indicating the presence of a stud. By running the stud finder along the wall, you can easily identify the location of the studs and mark them for drilling.
What Is the Best Way to Attach Floating Shelves?
For a secure attachment of floating shelves, it is essential to utilize a stud lock bracket in combination with wood screws. By incorporating this advanced hardware solution, you can ensure a robust and level installation that enhances the overall visual appeal of your space.
Stud lock brackets provide a reliable anchoring point by firmly gripping onto the wall studs, which are essential for bearing the weight of the shelves. This method not only offers increased stability but also minimizes the risk of shelves sagging or coming loose over time. Wood screws, when paired with the stud lock bracket, create a strong bond between the shelf and the wall, further reinforcing the structural integrity of the installation.
When it comes to floating wood shelf installation, choosing the right hardware is crucial for achieving a professional and long-lasting result. By opting for stud lock brackets and wood screws, you can enjoy a secure attachment that not only looks impressive but also ensures the safety of your belongings displayed on the shelves.
How to Put up Floating Shelves Without Studs?
When setting up floating shelves without studs, it's crucial to rely on wall anchors specifically designed for heavy loads. These anchors are essential for providing the necessary support and stability for the shelves. By checking the weight capacity of the hardware, we ensure that it can adequately hold the shelves in place.
In some cases, toggle bolts may be used in addition to wall anchors to further reinforce the shelves and prevent any potential issues with stability. This extra support can make a significant difference in the overall strength and durability of the installation.
Our approach to installing floating shelves without studs prioritizes the use of high-quality hanging hardware to ensure that the shelves are securely mounted to the wall. By following these steps and taking the necessary precautions, we can create a strong and reliable shelving system that will last for years to come.
How Do You Mark a Wall for Floating Shelves?
When preparing to install floating shelves, the first step is to locate the studs in the wall. Studs are vertical wood or metal supports that provide the necessary strength and support for hanging shelves securely. You can use a stud finder tool to easily locate these studs behind the wall surface.
After locating the studs, it's essential to measure and level the center point where you want to place your floating shelves. This ensures that your shelves will be properly balanced and centered on the wall. Use a measuring tape and a level to accurately mark this central point.
Once you have determined the center point, mark the left and right edges where you want the shelves to be placed. This step is crucial for ensuring that the shelves are evenly spaced and properly aligned on the wall. By marking these edges, you can guarantee the stability and aesthetic appeal of your floating shelves once they are installed.
Conclusion
Becoming a stud-finding expert is crucial for a strong and level installation of your floating wood shelf.
We've guided you through the necessary steps, from choosing the right tools to securely fastening the bracket.
By pinpointing those studs accurately and attaching the shelf firmly, you'll have crafted a stunning and practical addition to your room that will endure the test of time.
It's time to go out there and implement these tips right away!