Simplifying the Process of Stud Finding for Floating Wood Shelf Installation
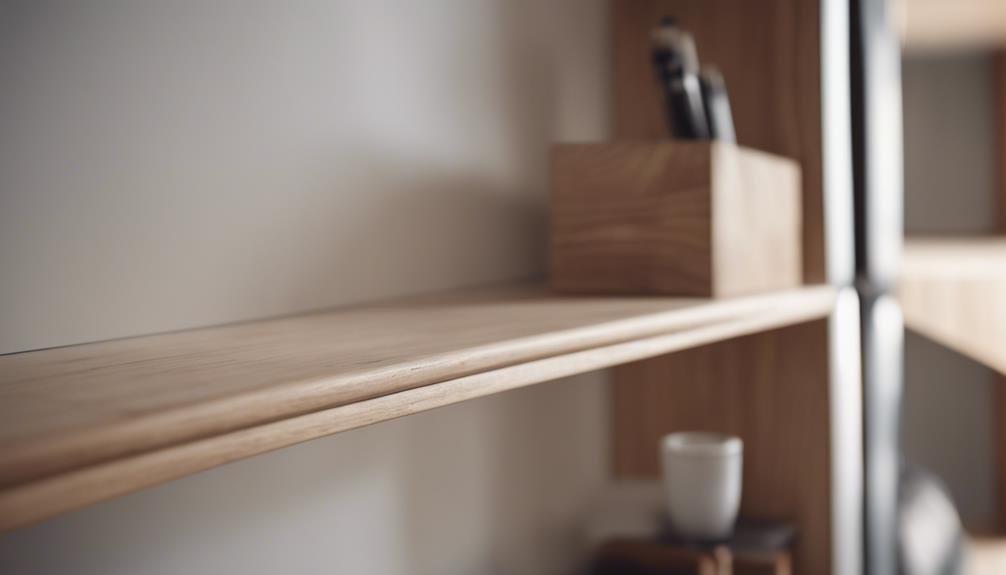
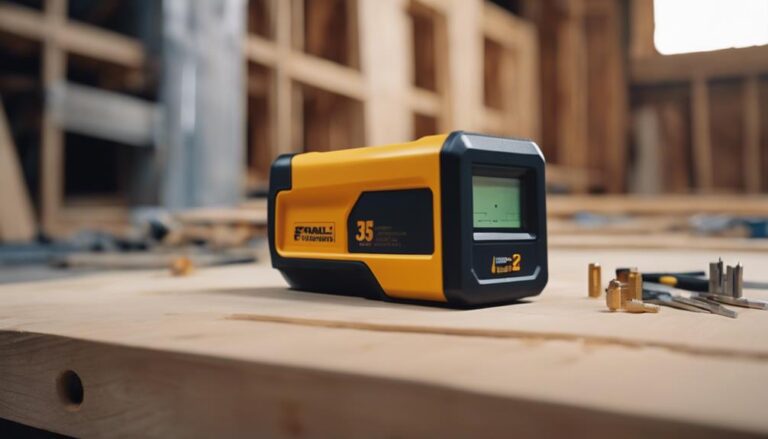
The Ultra Shelf System revolutionizes the process of finding studs for installing floating wood shelves. By incorporating a stud lock bracket and high-quality wood screws, this system offers a secure foundation without the need for precise stud detection. Utilizing a magnetic stud finder is recommended to ensure accurate placement, as sturdy load-bearing studs are crucial for stability.
To begin, mark the endpoints and center of the shelf before aligning the bracket's center with the stud's center line. Once the bracket is securely in place, position the shelf accordingly and verify alignment and screw tightness. This efficient method allows for personalized storage solutions tailored to your needs.
For further details on the installation process, refer to the comprehensive guidelines provided.
Key Takeaways
To simplify the process of installing a floating wood shelf, start by using a reliable magnetic stud finder. This tool will help you locate the load-bearing wall studs necessary for securely mounting the shelf. By finding the studs, you ensure that your shelf is well-supported and can hold the weight you intend to place on it.
Once you've located the studs, mark their center lines on the wall. This step is crucial to ensure that the stud lock brackets, which will support the shelf, are properly aligned and secured. By marking the center lines, you create a guide for positioning the brackets accurately.
Position the stud lock brackets directly over the marked stud center lines. This alignment is key to maximizing stability and weight-bearing capacity. Make sure the brackets are centered over the studs to distribute the weight evenly and prevent any potential issues with the shelf's support.
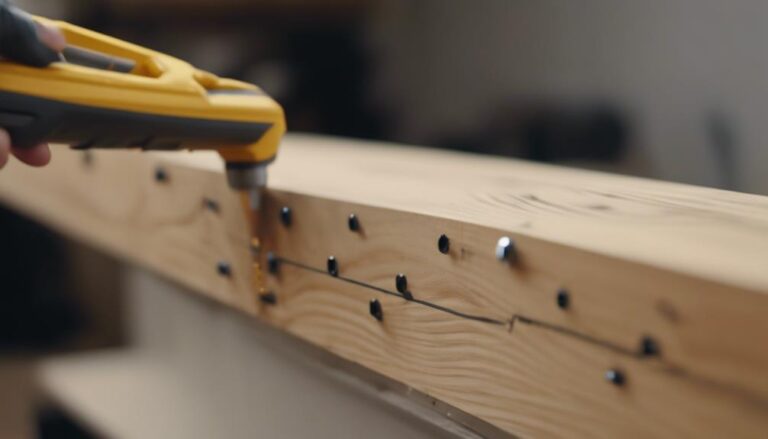
Next, securely attach the stud lock brackets to the wall using high-quality wood screws. Drive the screws directly into the center of the wall studs for maximum strength and durability. This step is essential for ensuring that the brackets can support the weight of the shelf and its contents without any risk of failure.
Before positioning and securing the floating wood shelf, double-check the levelness and alignment of the installed brackets. Ensuring that everything is straight and properly aligned will result in a sturdy and reliable setup. By following these steps carefully, you can enjoy a well-installed floating wood shelf that adds both functionality and style to your space.
Understanding the Ultra Shelf System
Understanding the Ultra Shelf System starts with recognizing its primary advantage: the elimination of the need to locate wall studs for installation. This unique feature allows users to place the shelf wherever they prefer, without the inconvenience of searching for the ideal stud placement. Equipped with a stud lock bracket and wood screws, the system simplifies the attachment process, making it a straightforward task.
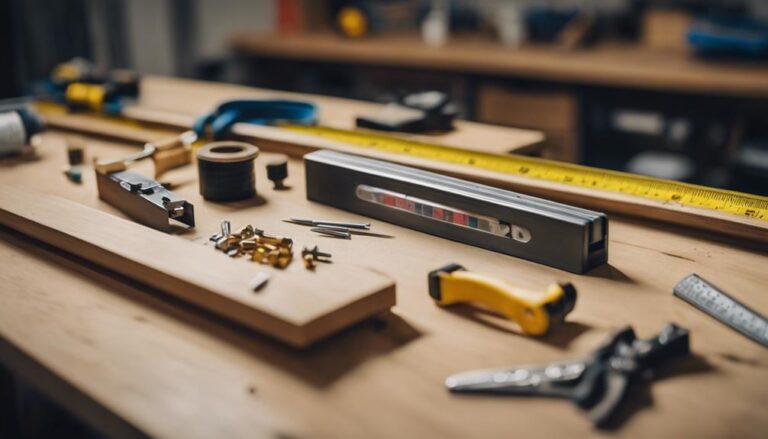
Installing the Ultra Shelf requires a few basic tools like a power drill, Phillips bit, measuring tape, level, and stud finder. Begin by marking the desired wall location, then securely attach the bracket directly to the studs using the provided wood screws. Finally, effortlessly slide the shelf onto the bracket to achieve a strong and stable fit.
This simplified installation method allows for greater flexibility in placing floating wood shelves, free from the limitations of stud location constraints.
The innovative design of the Ultra Shelf makes the traditional task of stud finding a thing of the past, offering a more intuitive and customizable shelving solution.
Locating the Studs With Precision
Let's delve into various methods for identifying studs, such as utilizing magnetic stud finders, to precisely pinpoint the load-bearing studs crucial for the secure installation of your floating wood shelf.
Locating these essential structural wall supports with accuracy is key to properly distributing the shelf's weight and ensuring its long-term stability.
Stud Identification Techniques
When it comes to installing floating wood shelves securely, the first crucial step is identifying wall studs using a reliable stud finder. Understanding the significance of accurately locating stud positions is essential for ensuring the stability and weight-bearing capacity of your shelves. The spacing of studs in standard construction, typically 16 inches apart, serves as a dependable guide for their placement.
Studs play a vital role in supporting the weight of your shelves, so pinpointing their exact locations is key. By using a stud finder, you can easily locate these sturdy vertical beams behind your walls. This ensures that when you mount your floating wood shelves, they're securely anchored to the studs, providing a strong foundation for displaying your items.
Magnetic Stud Finders
How do magnetic stud finders simplify the process of locating wall studs for installing floating wood shelves?
These practical tools utilize magnets to detect metal fasteners like screws and nails, commonly used to secure studs within walls. By simply running the device along the wall, magnetic stud finders can easily identify the locations of the studs without needing batteries. This makes them a reliable and cost-effective solution for both DIY enthusiasts and professional installers.
Magnetic stud finders offer precise accuracy, ensuring the secure placement of floating wood shelves. Their user-friendly design allows for efficient stud location, saving time and effort during the installation process. Compared to other methods of identifying studs, these magnetic tools provide a streamlined approach that consistently delivers dependable results.
Whether you're an experienced DIY expert or new to home improvement projects, magnetic stud finders prove to be an invaluable resource for installing floating wood shelves.
Locating Load-Bearing Studs
Accurately locating load-bearing studs is essential for the successful installation of floating wood shelves. By utilizing a reliable stud finder, we can pinpoint the stud positions on the wall, ensuring a sturdy and stable shelf mounting.
To locate the studs accurately, begin by slowly scanning the wall horizontally with the stud finder. Mark the identified stud locations with a pencil or tape for reference. Keep in mind that studs are typically spaced 16 inches apart, although this spacing may vary in older or custom-built homes.
It is crucial to double-check your markings to confirm the precise locations of the load-bearing studs. These studs play a vital role in supporting the weight of your floating wood shelves, so accuracy is key to a secure installation.
Once you have mapped out the stud positions with precision, you can confidently proceed with installing your floating wood shelves, knowing that they're securely anchored to the load-bearing studs for optimal support.
Marking the Shelf Placement
To start, let's mark the wall at the left and right ends of the shelf to determine where it will be placed. This step is crucial for visualizing the shelf's position and ensuring it aligns correctly with the wall studs.
Next, we'll locate the center point of the shelf and mark it on the wall. This reference point will be key for aligning the bracket center when we install it.
To accurately mark the shelf placement, we need to find the wall studs using a stud finder. Once located, we'll mark the left and right sides of each stud to guide us in securing the shelf properly.
Ensuring precise wall markings for the shelf placement is essential for a secure installation and a polished look. With the shelf's position clearly outlined, we can confidently proceed to the next phase of the project.
Aligning the Stud Lock Bracket
Ensuring the stud lock bracket is properly aligned is crucial for a secure and stable floating wood shelf installation. Using a stud finder, we locate the studs and ensure the center of the bracket aligns perfectly with the center line of the stud. This alignment is key to distributing the weight of the shelf evenly and preventing it from sagging or falling.
Once the stud is located, we securely attach the bracket to it by drilling in screws. It's essential to double-check that the bracket is level before fastening everything in place. This step ensures that the shelf will sit straight and securely on the wall.
Proper alignment of the stud lock bracket not only ensures the stability of the floating wood shelf but also enhances the overall appearance of the installation. By following these steps diligently, you can enjoy a well-mounted and visually appealing wood shelf in your space.
Accurate Bracket Positioning
Properly positioning the stud lock bracket in alignment with the center line of the shelf plays a vital role in ensuring a secure and well-balanced installation. Let's guide you through the precise steps to achieve accurate bracket placement.
To begin, utilize a power drill equipped with a Phillips bit to firmly attach the bracket to the stud. This step is essential for creating a robust anchor point for the shelf.
Subsequently, verify that the bracket is level before proceeding to secure the remaining screws into the studs. This meticulous approach guarantees the shelf's stability and balance.
Here are 4 crucial factors to consider for precise bracket positioning:
- Align the midpoint of the stud lock bracket with the center line of the shelf.
- Drill into the stud to establish a reliable anchor point.
- Confirm the bracket is level to ensure a well-balanced installation.
- Securely fasten the bracket to the studs for optimal stability.
Securing Bracket to Stud
Once you have confirmed the precise positioning of the bracket, it's time to securely attach the stud lock bracket to the wall. Using a power drill equipped with a Phillips bit, firmly anchor the bracket into the center of the stud. This step is crucial for establishing a robust foundation for your floating wood shelf.
Position the bracket at the midpoint of the stud and ensure it's level before securing the remaining screws into the wall.
Securing the Bracket to the Wall
Before you begin installing your floating wood shelf, it's essential to locate the studs in the wall for a secure attachment. Utilizing a stud finder ensures that you find the optimal placement for your bracket, providing the necessary stability and support for your shelf.
When securing the bracket, follow these simple steps:
- Start by installing the bracket, marking the wall where the screw holes will be located based on the stud positions.
- Drill into the studs and fasten the first screw to establish a solid foundation for the bracket.
- Use a level to ensure the bracket is straight, then proceed to fasten the remaining screws for an even surface.
- Once the bracket is securely in place, you can effortlessly slide your shelf onto the supports, knowing it's stable and secure.
Positioning the Floating Wood Shelf
Now that the bracket is securely mounted, let's focus on positioning the floating wood shelf. Start by marking the wall at the left and right endpoints where the shelf will sit. This will help determine the center point for aligning the bracket.
Use a stud finder to locate the studs along the wall accurately. Marking these positions ensures that the bracket is attached to the studs for strong support.
Next, align the center of the bracket with the determined center point for the shelf. This precise alignment is crucial for a polished and secure installation.
Ensuring a Sturdy Installation
Now that we've positioned the bracket correctly, it's crucial to ensure the floating wood shelf is installed securely. Using a reliable stud finder will help us accurately locate the studs in the wall, providing a sturdy foundation for our floating wood shelves.
Attaching the bracket firmly to the studs is essential for a secure installation. This ensures the shelf can support a significant amount of weight without the risk of becoming loose or falling. To achieve this, follow these steps:
- Align the bracket precisely with the center line of the shelf for a level and stable installation.
- Fasten the bracket to the studs using high-quality wood screws, ensuring maximum strength and durability.
- Double-check the alignment and tightness of the screws to prevent any potential issues.
- Test the weight capacity of the installed shelf to confirm its reliability.
Customizing the Shelf's Appearance
Installing a floating wood shelf involves more than just securing it in place. By customizing its appearance, we can seamlessly blend it into the overall aesthetic of the bathroom. With a plethora of options available, such as selecting the perfect finish and size, we can create a storage solution that's truly unique to your space.
Incorporate decorative elements like trim, paint, or stain to complement the existing style of your bathroom. Experiment with different depths and lengths to personalize the shelf and highlight the unique character of the space. Mixing and matching various shelf designs can result in a visually appealing and practical storage system.
For an added touch of style, consider incorporating stylish brackets or supports. These elements can enhance the overall appeal of the floating wood shelf, turning it into a focal point in the room.
Accessing the Home Depot Support
When setting up your floating wood shelf, it's essential to have the right support. Home Depot offers a range of resources to assist you during the installation process. You can reach out to their knowledgeable team through various channels:
- Live chat: Connect with experts in real-time for immediate guidance and troubleshooting tips.
- Phone: Speak directly to a support representative who can provide personalized assistance and answer any questions you may have.
- Email: Submit your inquiries and get detailed responses to help you with the installation.
- In-store support: Visit your local Home Depot store to consult with their friendly staff, who are experienced with stud finders and can offer hands-on advice for a smooth installation process.
Frequently Asked Questions
Do You Need to Find Studs for Floating Shelves?
Absolutely, it is crucial to locate studs for floating shelves in order to accurately mark their positions on the wall. By using stud finders effectively, you can pinpoint the exact location of the studs behind the drywall, ensuring that the shelves are securely attached. This is essential for guaranteeing stability and long-lasting support for your shelves.
Studs are vertical wooden or metal framing members found within the walls of a building. They provide the necessary support for heavy objects like floating shelves. By identifying and marking the studs before installation, you can avoid damaging the wall and ensure that the shelves are securely anchored.
Utilizing stud finders, which are handheld devices designed to detect the presence of studs behind the wall, can make the process of finding studs much easier. By following the instructions provided with the stud finder and moving it slowly across the wall, you can locate the studs with precision.
How to Install Floating Shelves Without Studs?
Installing floating wood shelves without studs can be achieved by selecting the appropriate drywall anchors that can support the weight of the shelves. It is crucial to follow the guidelines provided by the manufacturer to ensure the proper installation of the shelves. By considering the weight capacity and shelf stability, you can create a functional and visually appealing storage solution that maximizes usable space.
When installing floating wood shelves, it is essential to choose anchors that are specifically designed for drywall to ensure a secure attachment. These anchors come in various types, such as toggle bolts, molly bolts, or plastic expansion anchors, each with its unique weight-bearing capacity. By selecting the right anchors based on the weight of the shelves and the items to be placed on them, you can prevent the shelves from sagging or falling.
Before proceeding with the installation, it is important to locate the best spots on the wall for mounting the shelves. Using a stud finder can help identify any studs behind the drywall, providing additional support for the shelves. If studs are not available in the desired location, strategic placement of the anchors can distribute the weight evenly and ensure the stability of the shelves.
Can You Put Floating Shelves on a Stud Wall?
Installing floating shelves on a stud wall is a smart choice for ensuring stability and strength. By mounting the shelves directly onto the studs, we can take advantage of the wall's structural support to bear heavier weights and accommodate various shelf designs. This method provides a reliable solution for organizing and displaying items in a customized and durable way.
Studs are vertical framing members within the wall that offer robust support for mounting shelves. By locating and attaching the brackets or supports directly to the studs, we can distribute the weight of the shelves evenly and prevent any potential sagging or instability. This ensures that the shelves are securely anchored to the wall, providing a safe and long-lasting storage solution.
When considering the installation of floating shelves on a stud wall, it's essential to use a stud finder to accurately locate the studs behind the drywall. This tool helps identify the precise position of the studs, allowing for secure attachment of the shelves. By following this method, we can create a strong and reliable shelving system that enhances both the functionality and aesthetics of the space.
What Is the Best Way to Attach Floating Shelves?
When installing floating wood shelves, it's crucial to consider a few key factors to ensure a secure and visually appealing result. One of the first steps is to locate the studs in the wall to provide sturdy support for the shelves. Using a stud finder will help you identify the best spots to anchor the shelves, preventing them from sagging or falling over time.
After locating the studs, you can choose between adhesive or hardware options to attach the shelves to the wall. Adhesives can provide a clean and seamless look, while hardware such as brackets or screws offer extra stability for heavier items. Consider the weight capacity of the shelves and the items you plan to display to determine the best attachment method for your specific needs.
When evaluating the wall material, keep in mind that different surfaces may require different installation techniques. For example, drywall may need anchors or toggle bolts for added support, while solid wood walls can typically support shelves without additional reinforcement. By understanding the characteristics of your wall, you can ensure a secure and long-lasting installation.
To maximize the functionality of your shelves, ensure they are level during installation. A level shelf not only looks more visually appealing but also provides a stable surface for your items. Additionally, consider the depth of the shelves to accommodate larger or bulkier items while maintaining a streamlined appearance.
Incorporating decorative elements such as trim or molding can enhance the aesthetic appeal of your floating shelves, adding a touch of style to your space. You can also explore lighting solutions to illuminate the shelves and create a warm ambiance in the room. By paying attention to these details, you can achieve a seamless and functional installation that complements your decor.
Conclusion
Tired of struggling to find the right spot for your floating wood shelves and dealing with the frustration of improperly installed shelves crashing down? It's time to say goodbye to all that stress by harnessing the power of the Ultra Shelf System. With this innovative system, you can effortlessly secure your shelves with precision and confidence, thanks to its specially designed brackets that ensure a sturdy and customizable display for your treasured belongings.
No more guesswork or uncertainty – just a seamless installation process that guarantees a hassle-free experience.
Forget about the traditional stud finders that often lead to confusion and unreliable results. The Ultra Shelf System takes the guesswork out of the equation, providing you with a foolproof method to locate and secure your shelves to studs with ease. Say goodbye to the days of trial and error and hello to a more efficient and reliable way of installing floating wood shelves in your home.
Embrace the future of home improvement with the Ultra Shelf System and never have to deal with the drama of unstable shelves again. With its innovative design and precise positioning, you can confidently create a stunning display for your belongings without any worries about safety or durability.
Make the switch to a smarter and more convenient way of installing floating wood shelves today and enjoy a stress-free home decor experience like never before.

